Immich: A Free Self-hosted Google Photos Backup Replacement
A free photo backup solution that is free and you can do self-hosted at home. Combining with Cloudflare Access, you can sync from anywhere.
Self-Hosting Immich with Cloudflare Access: Sync Photos Securely from Anywhere
If you’re looking for a powerful self-hosted photo and video management platform that offers real-time syncing, AI-powered tagging, and mobile app support and for free, Immich is the best choice in 2025. But what makes it even better? Combine it with Cloudflare Tunnels and Zero Trust Access to securely sync photos from anywhere—without opening a single port on your router.
In this post, I’ll walk you through setting up Immich on Docker, mounting an external photo drive, and enabling secure remote access using Cloudflare.
Immich
Immich is an open-source, high-performance self-hosted alternative to Google Photos. It supports:
- Auto-upload from Android/iOS devices
- AI-powered image tagging and facial recognition
- Sharing, albums, and search
- GPU-based image processing
- External storage support
It’s built using NestJS, PostgreSQL, Redis, and Next.js—and runs beautifully in Docker.
🔗 Reference Links
System Requirements & Apple Silicon Limitations
- Immich heavily benefits from GPU acceleration (video transcoding, image processing).
- On Apple Silicon, Docker does not have access to native GPU resources, which means video transcoding and other GPU-heavy features fall back to CPU.
- For best performance:
- Use a dedicated GPU on x86_64 Linux (NVIDIA recommended).
- If you’re using an M1/M2/M3 Mac for self-hosting, expect longer processing times.
Setting Up Immich with Docker Compose
Here’s a quick minimal docker-compose.yml setup:
Pre-requisite: Docker and Docker Compose must be installed and configured.
1
2
3
4
5
6
7
cd immich-app

#starting immich
dockercompose up -d

#stopping immich
docker compose down

Mounting an External Photo Drive
To keep your main photo library on an external SSD/HDD:
- Plug in your external drive (e.g.,
/Volumes/Photos) - Edit your
docker-compose.ymlto mount the drive: ```yaml volumes:- /Volumes/Photos:/mnt/photos # Replace with your actual mounted path ```
- Set the upload location in your
.envfile:UPLOAD_LOCATION=/Volumes/Photos/uploads
💡 Make sure the
/uploadsfolder exists on your drive. If you change drives later, update both.envand volume paths. You may also need to re-scan your library using the Immich CLI.
⚠️ If you change the drive location later, move your entire folder and update both
.envand Docker volumes. A re-scan may be required using Immich CLI.
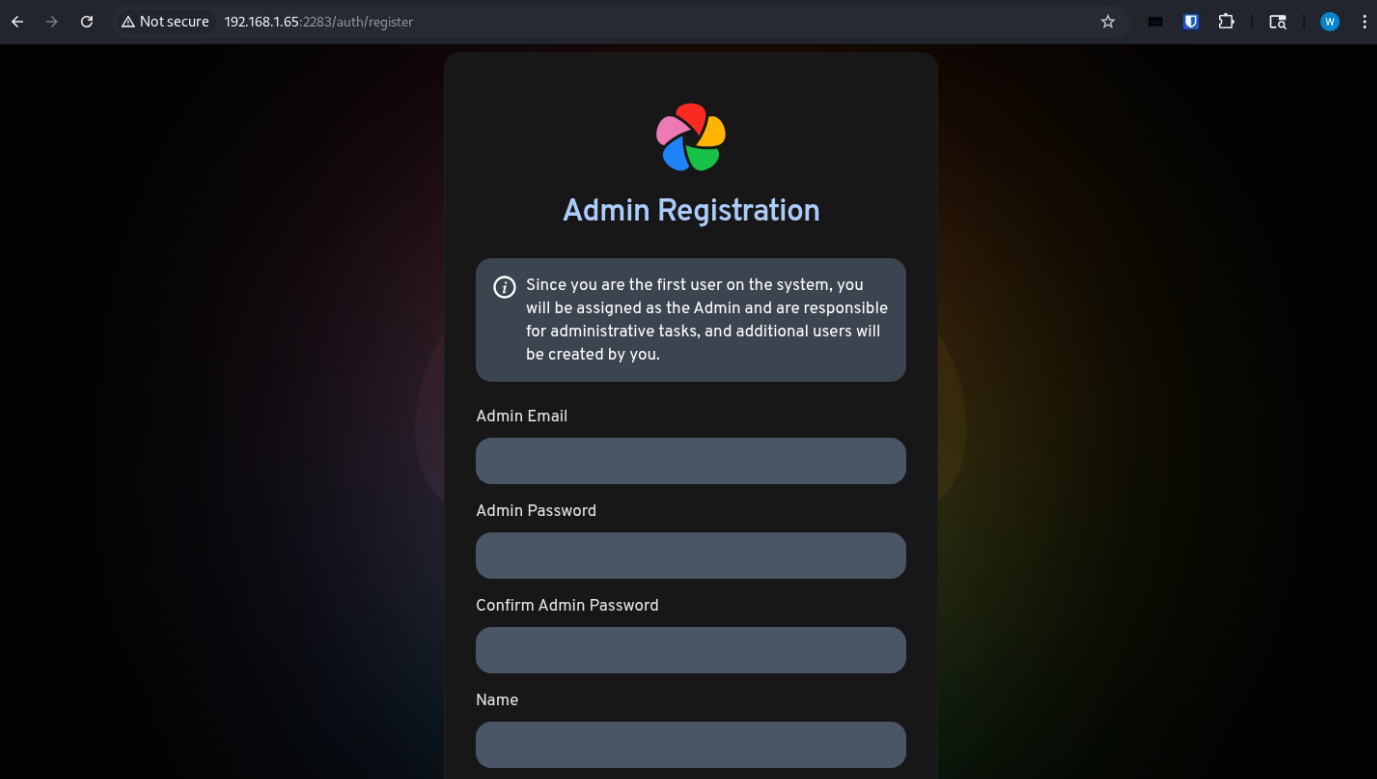
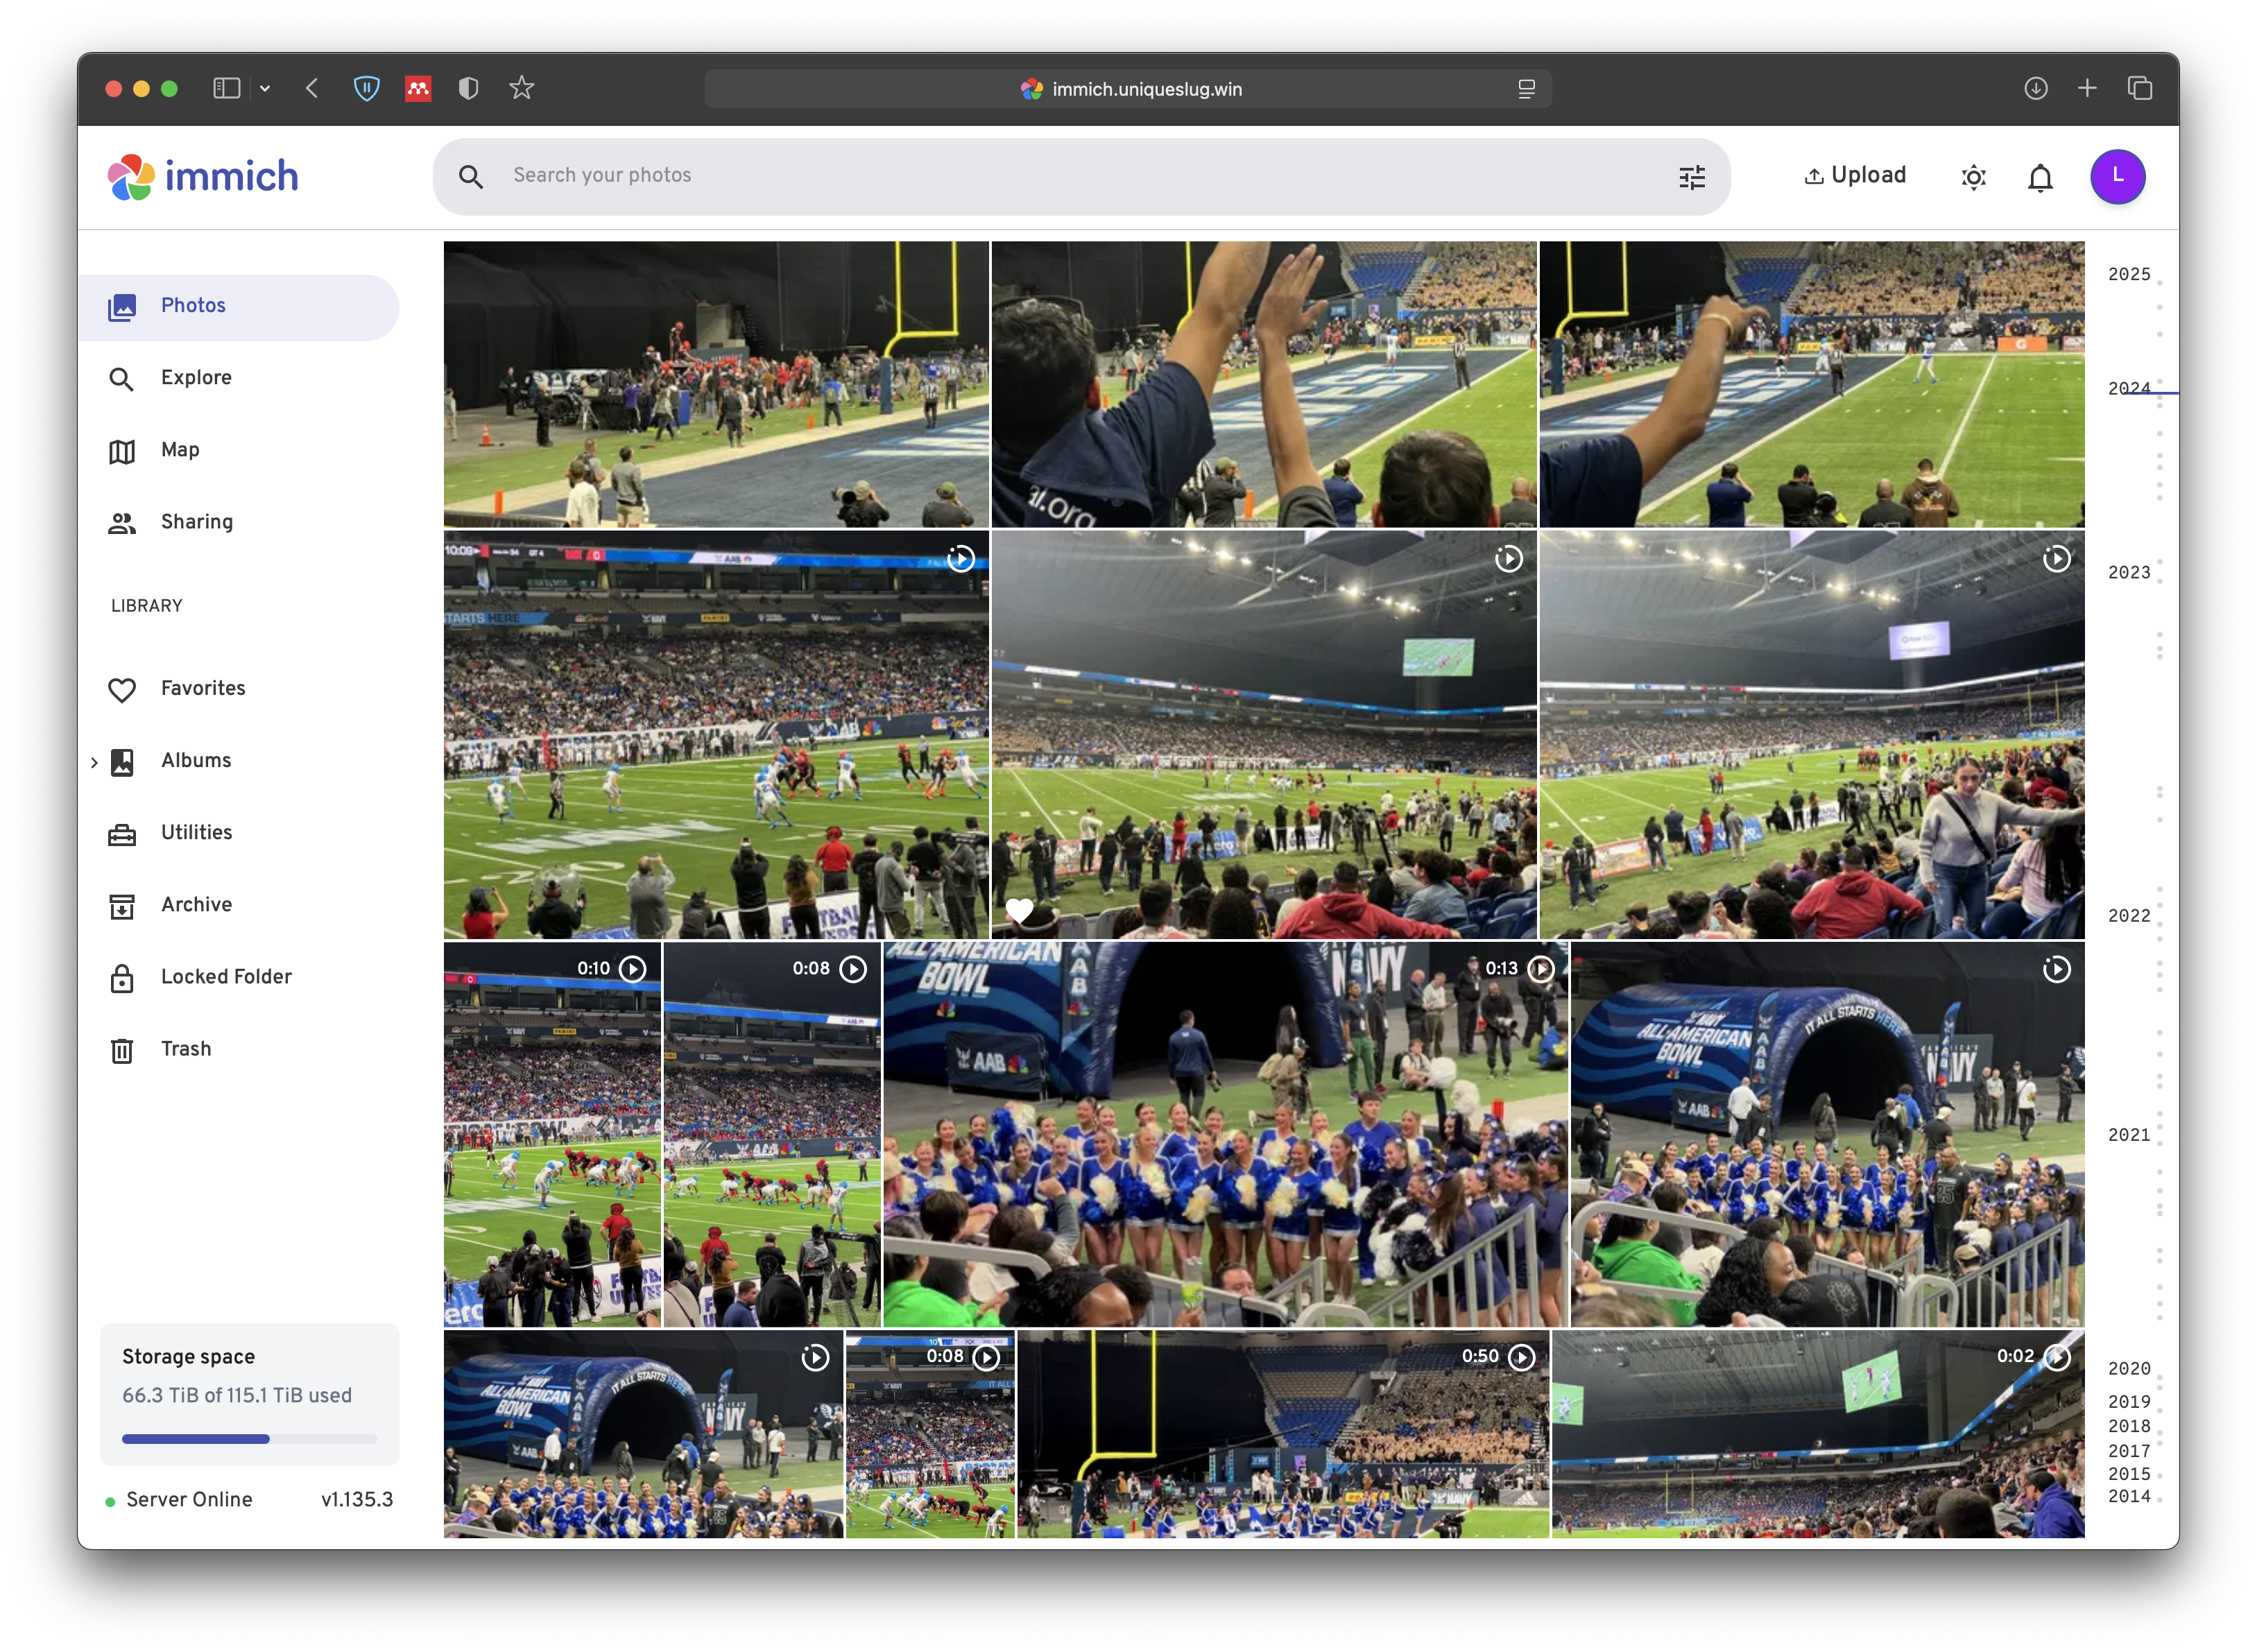
Access Immich Locally
Once running, visit:
http://127.0.0.1:2283
- Set up your admin account.
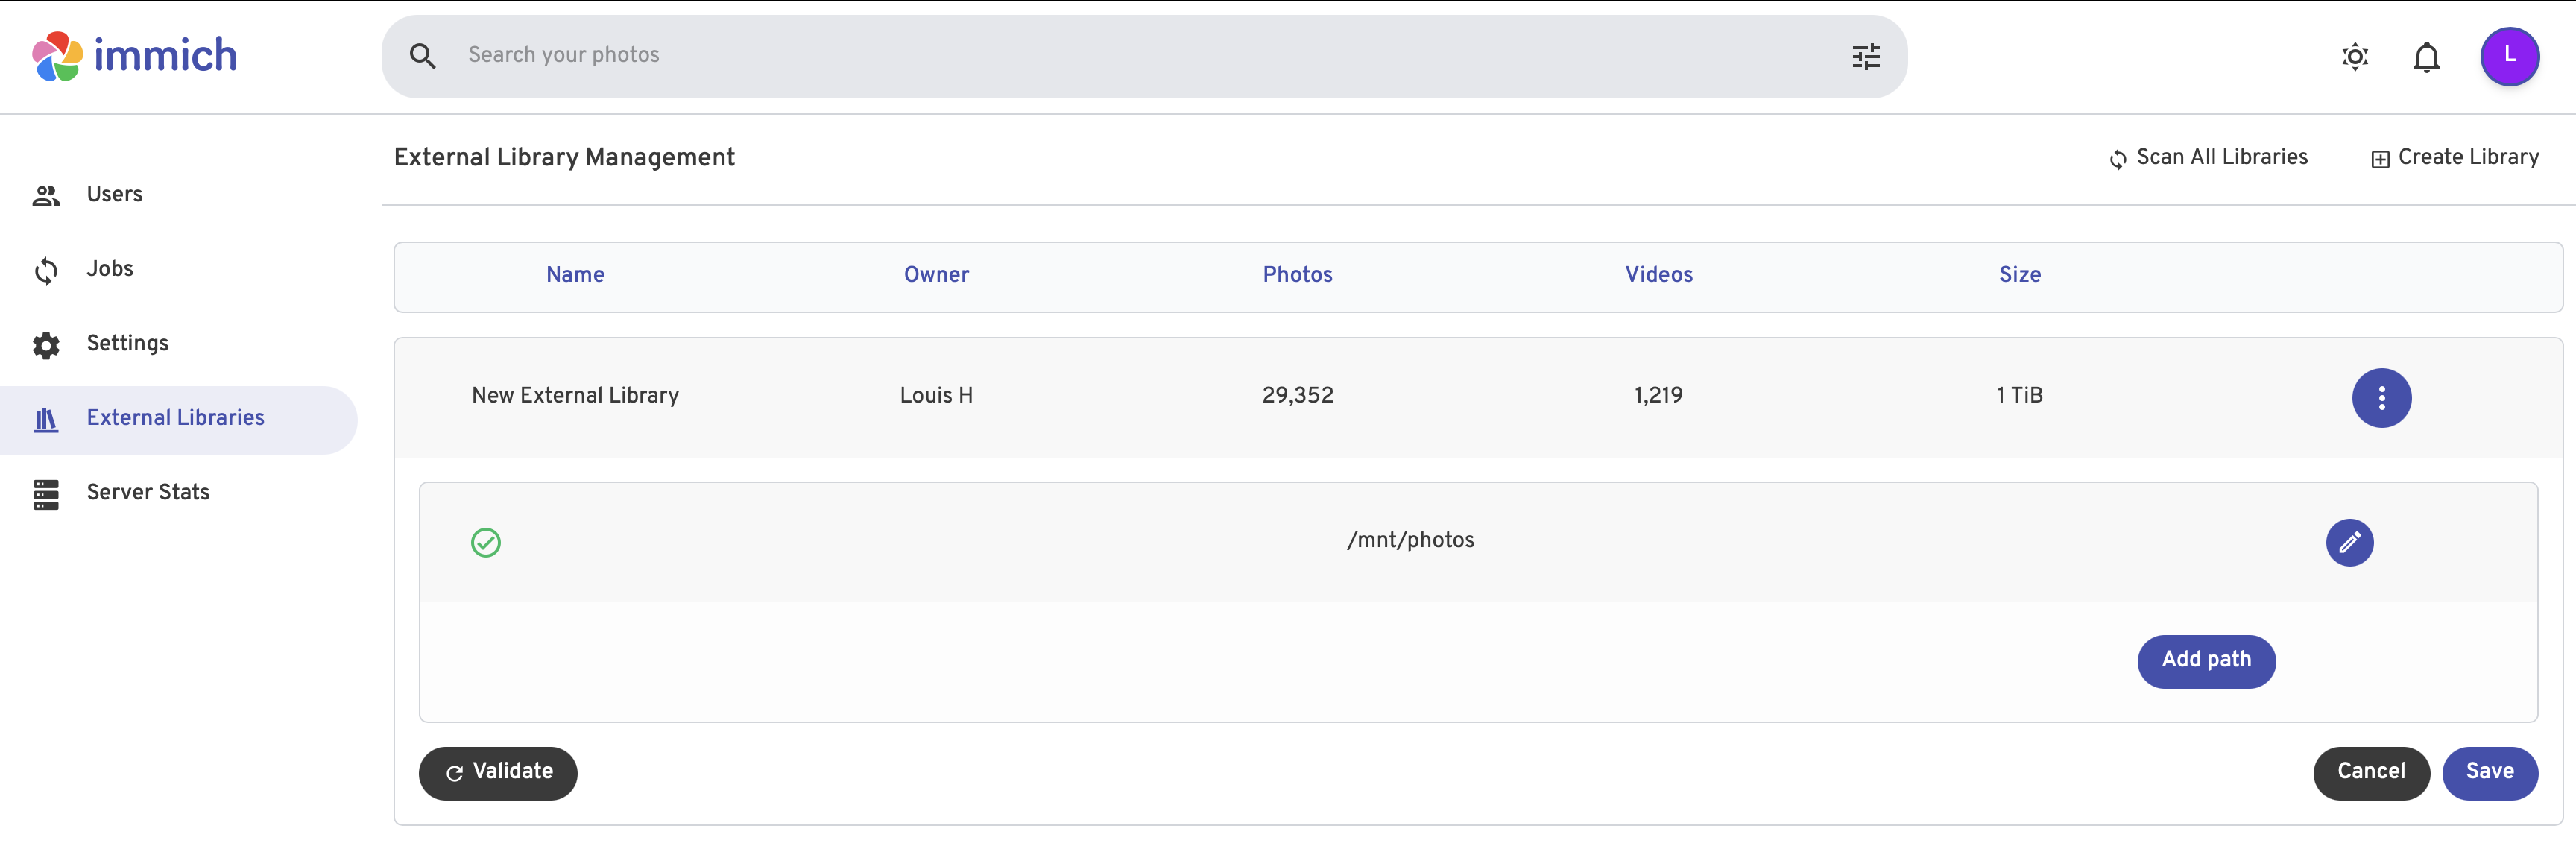
- Go to Profile → Administration → External Libraries
- Add a new library and set the import path as defined in your volume (e.g.,
/mnt/photos).
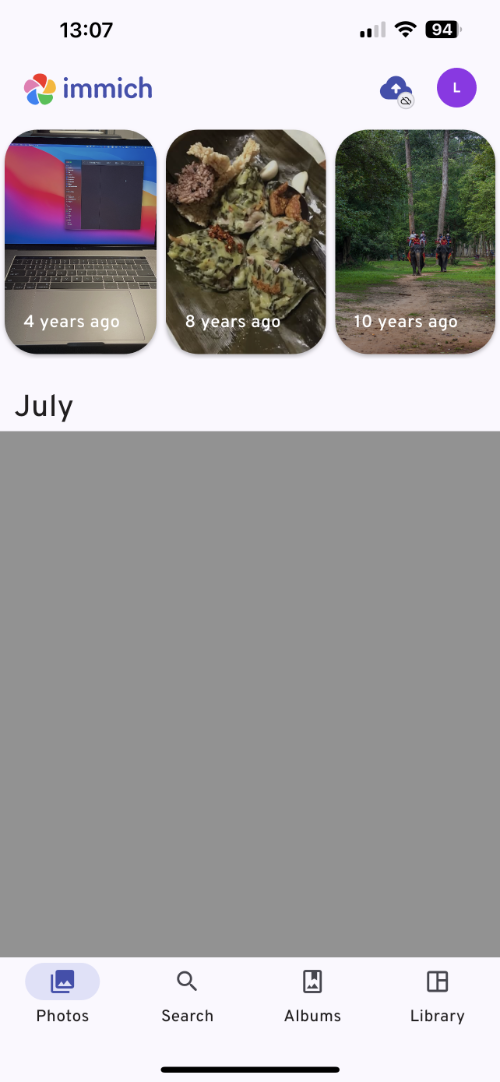
Sync with Mobile App
Download the Immich mobile app from your app store and start syncing.
Note: Large libraries may take several hours to process.
Set Up Cloudflare Tunnel (Secure Remote Access)
Pre-requisite: A Cloudflare tunnel must be created and running.
- Edit Cloudflare
config.yml:1 2 3 4 5
tunnel: immich-tunnel ingress: - hostname: photos.example.com service: http://localhost:2283 - service: http_status:404
- Add a CNAME record for
photos.example.comin your Cloudflare DNS settings.
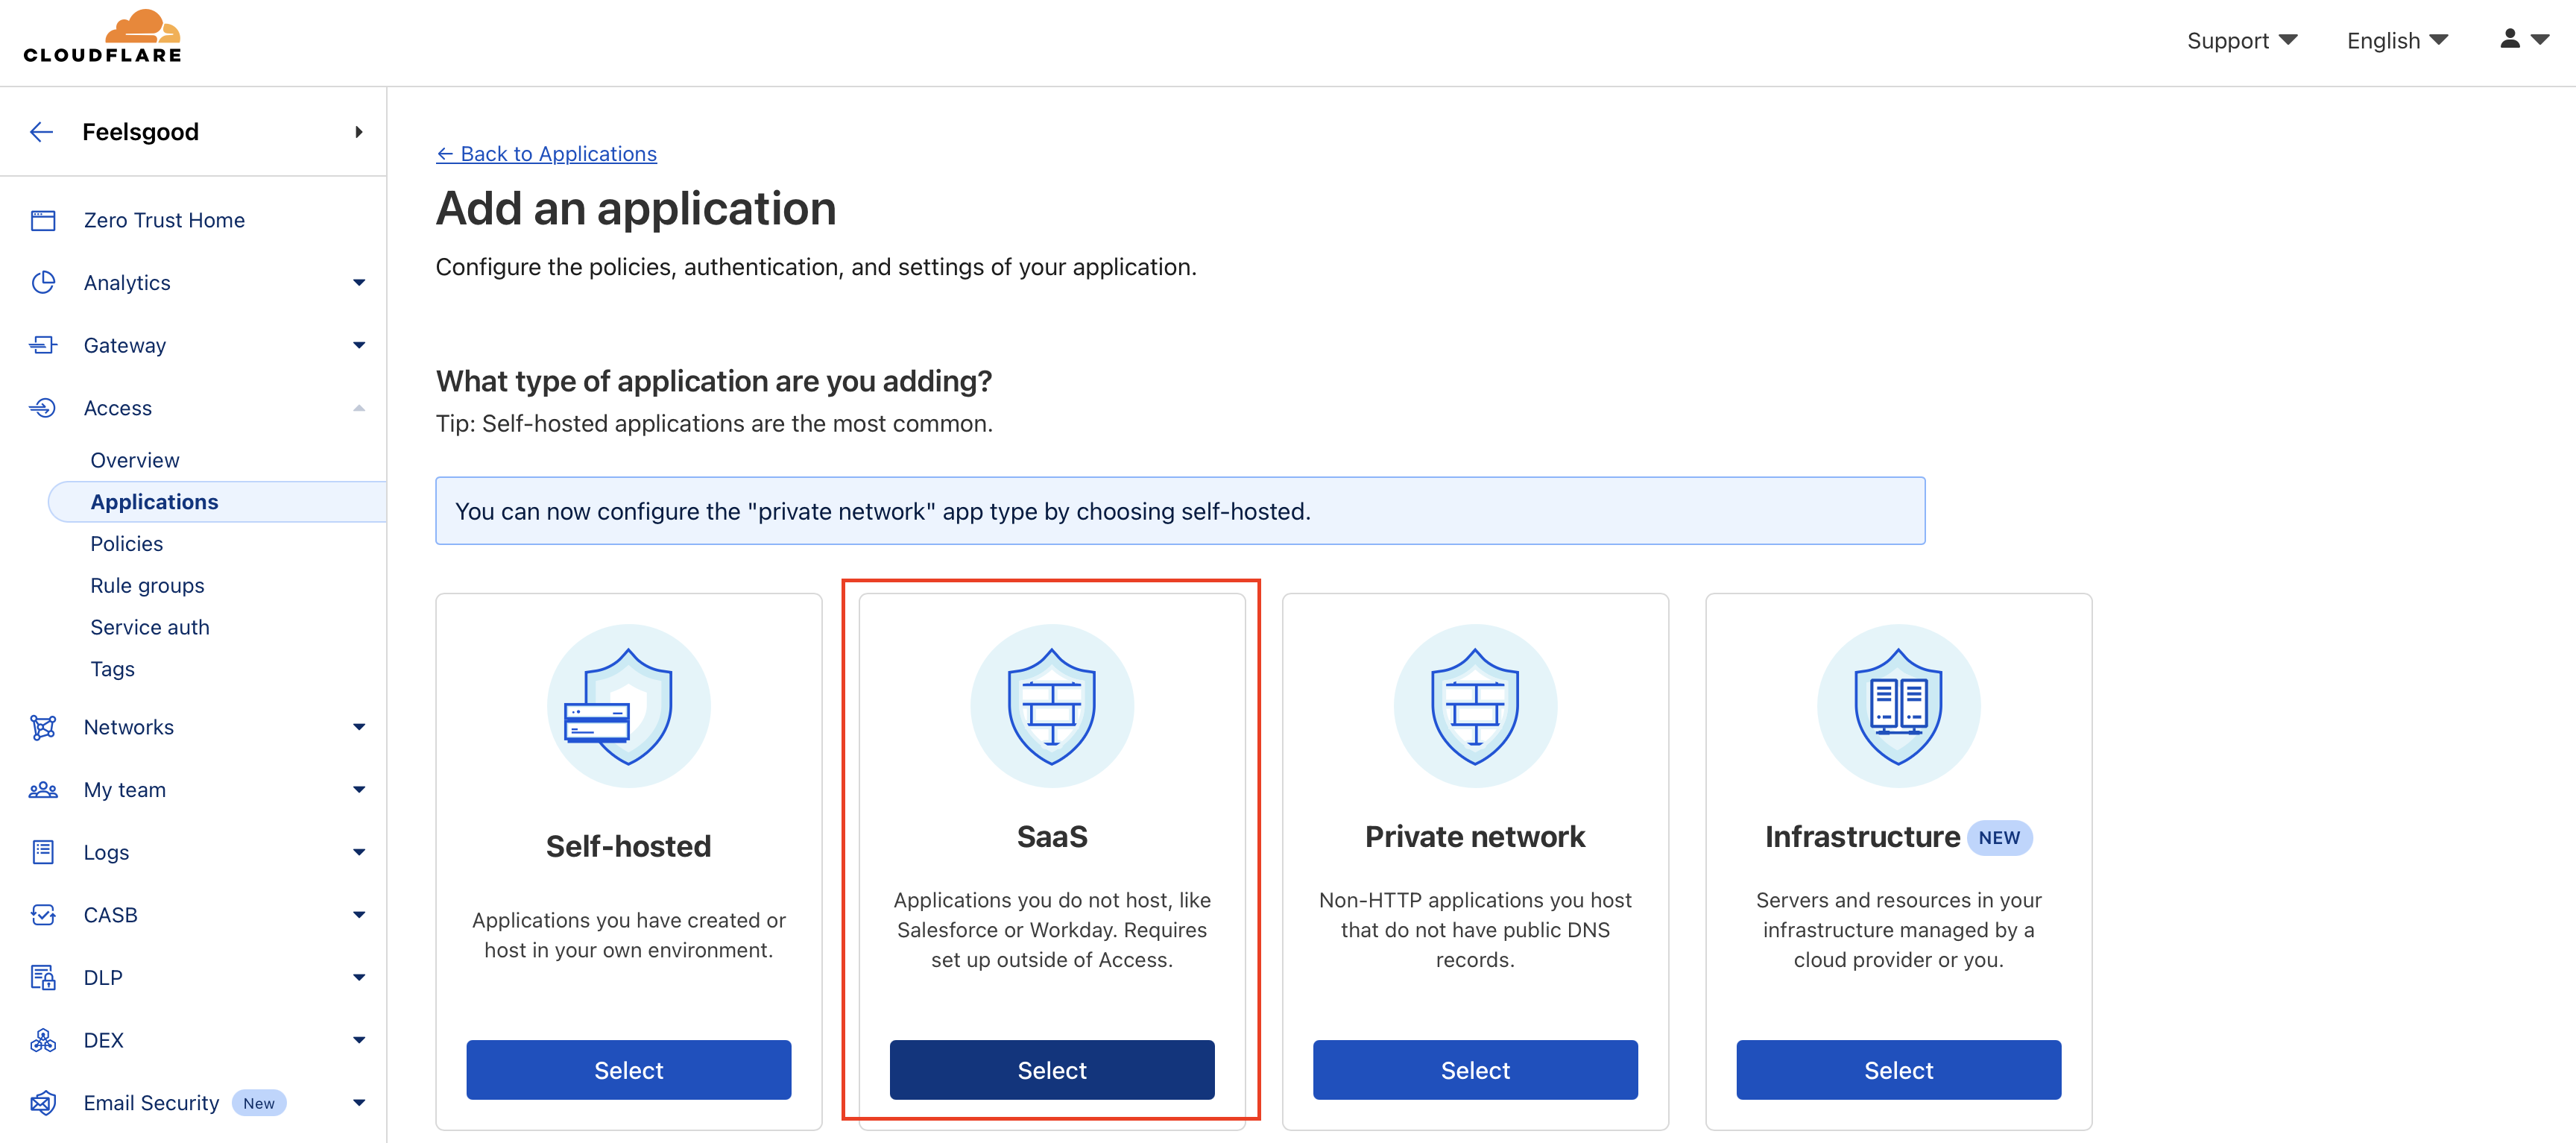
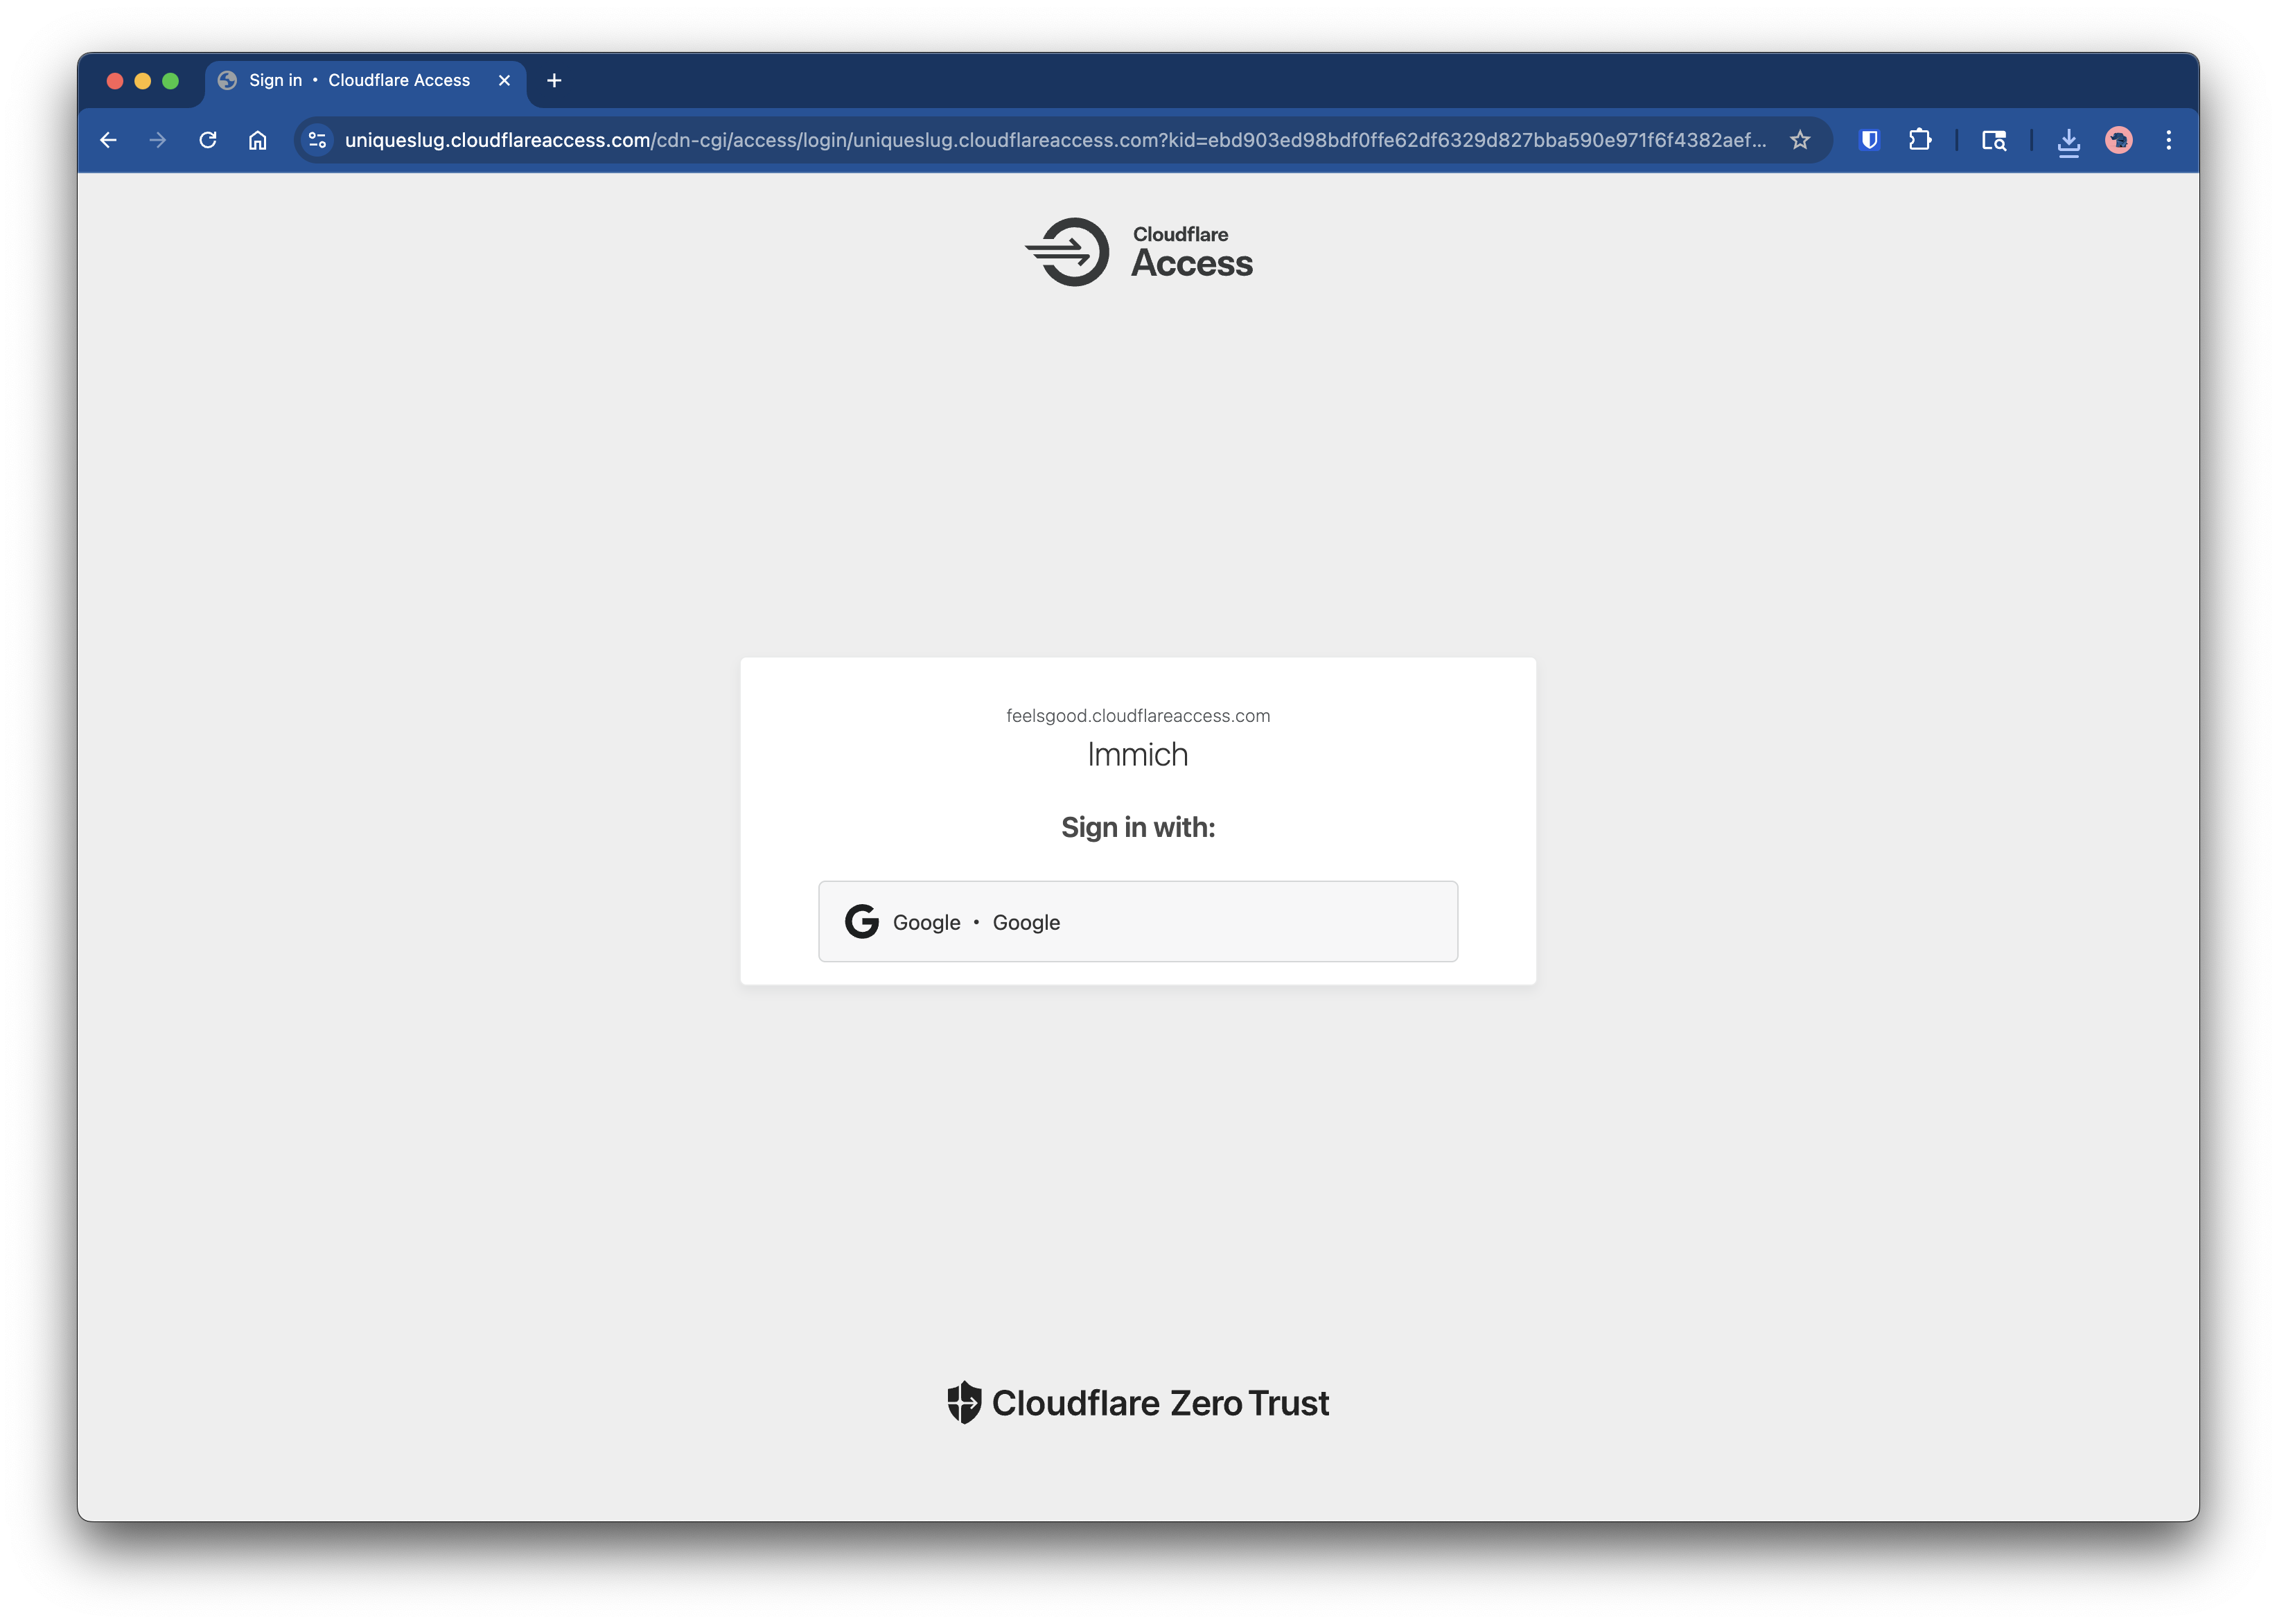
Protect Immich with Cloudflare Access as a SaaS App
- Go to Cloudflare Zero Trust > Access > Applications
- Add a new SaaS app:
- Name: Immich
- Domain:
photos.example.com
- Add an Access policy to add admin and user access.
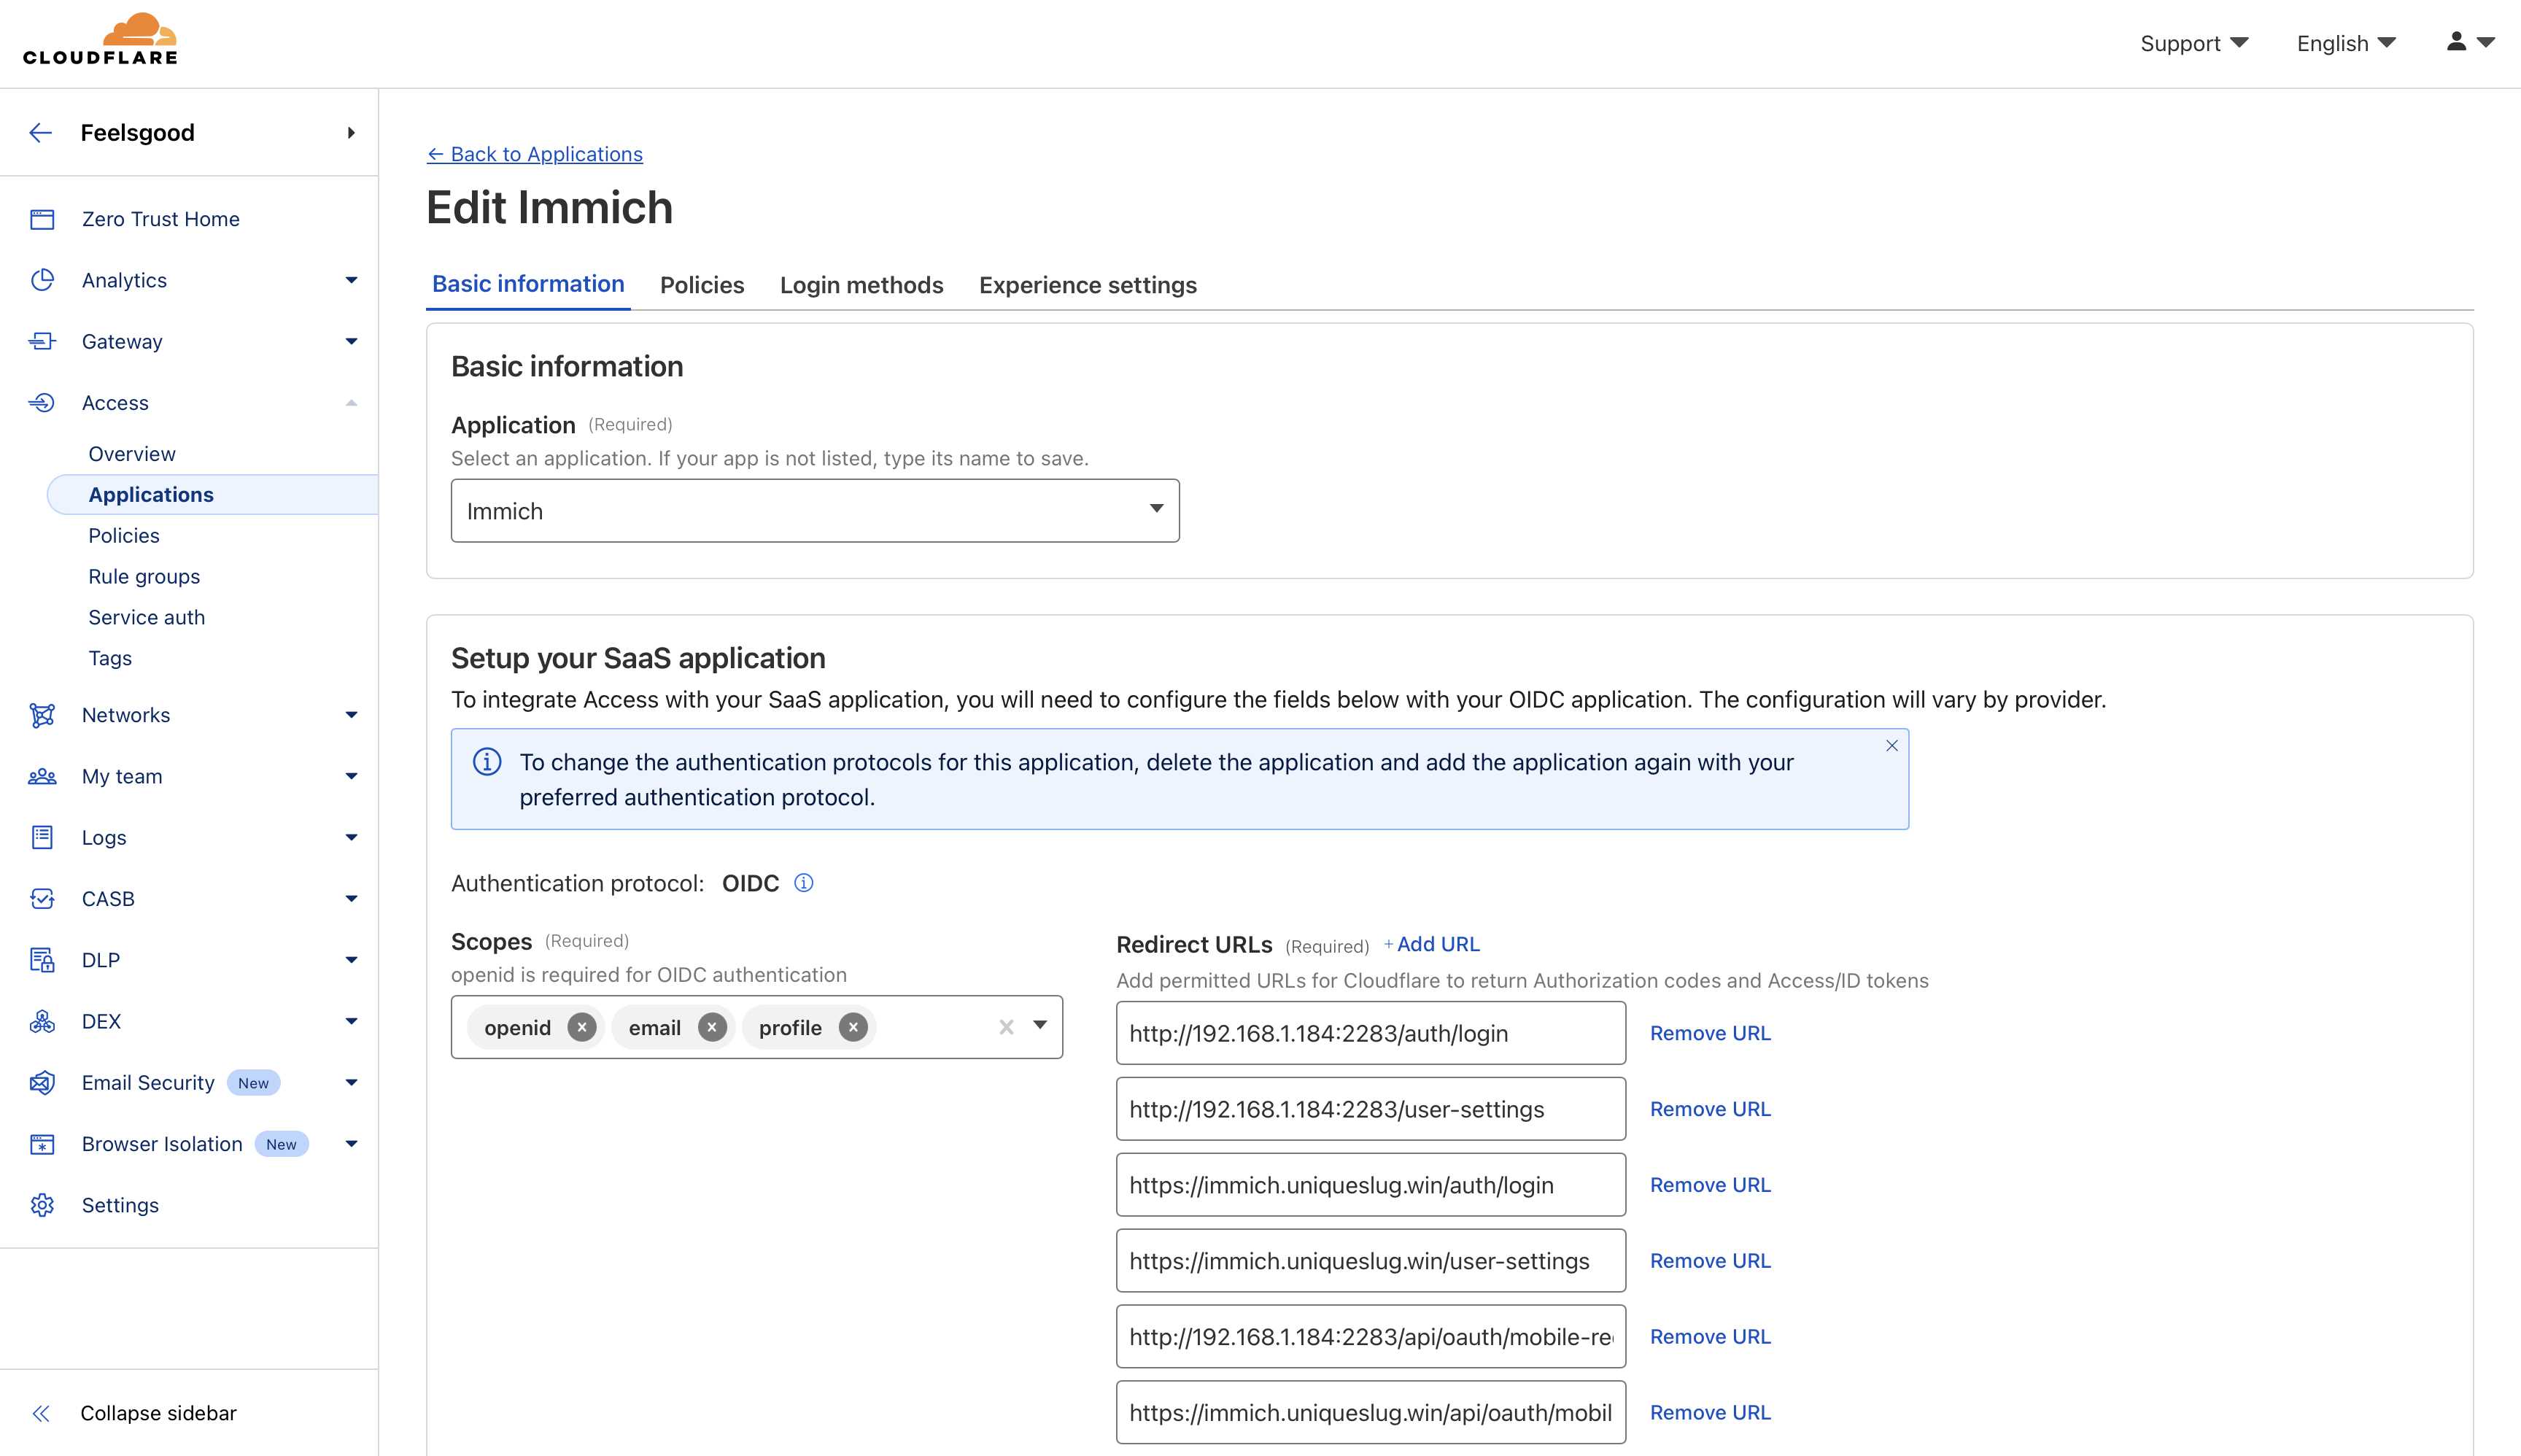
Add OIDC Redirect URLs
1
2
3
4
5
6
http://192.168.1.184:2283/auth/login
http://192.168.1.184:2283/user-settings
http://192.168.1.184:2283/api/oauth/mobile-redirect
https://immich.uniqueslug.win/auth/login
https://immich.uniqueslug.win/user-settings
https://immich.uniqueslug.win/api/oauth/mobile-redirect
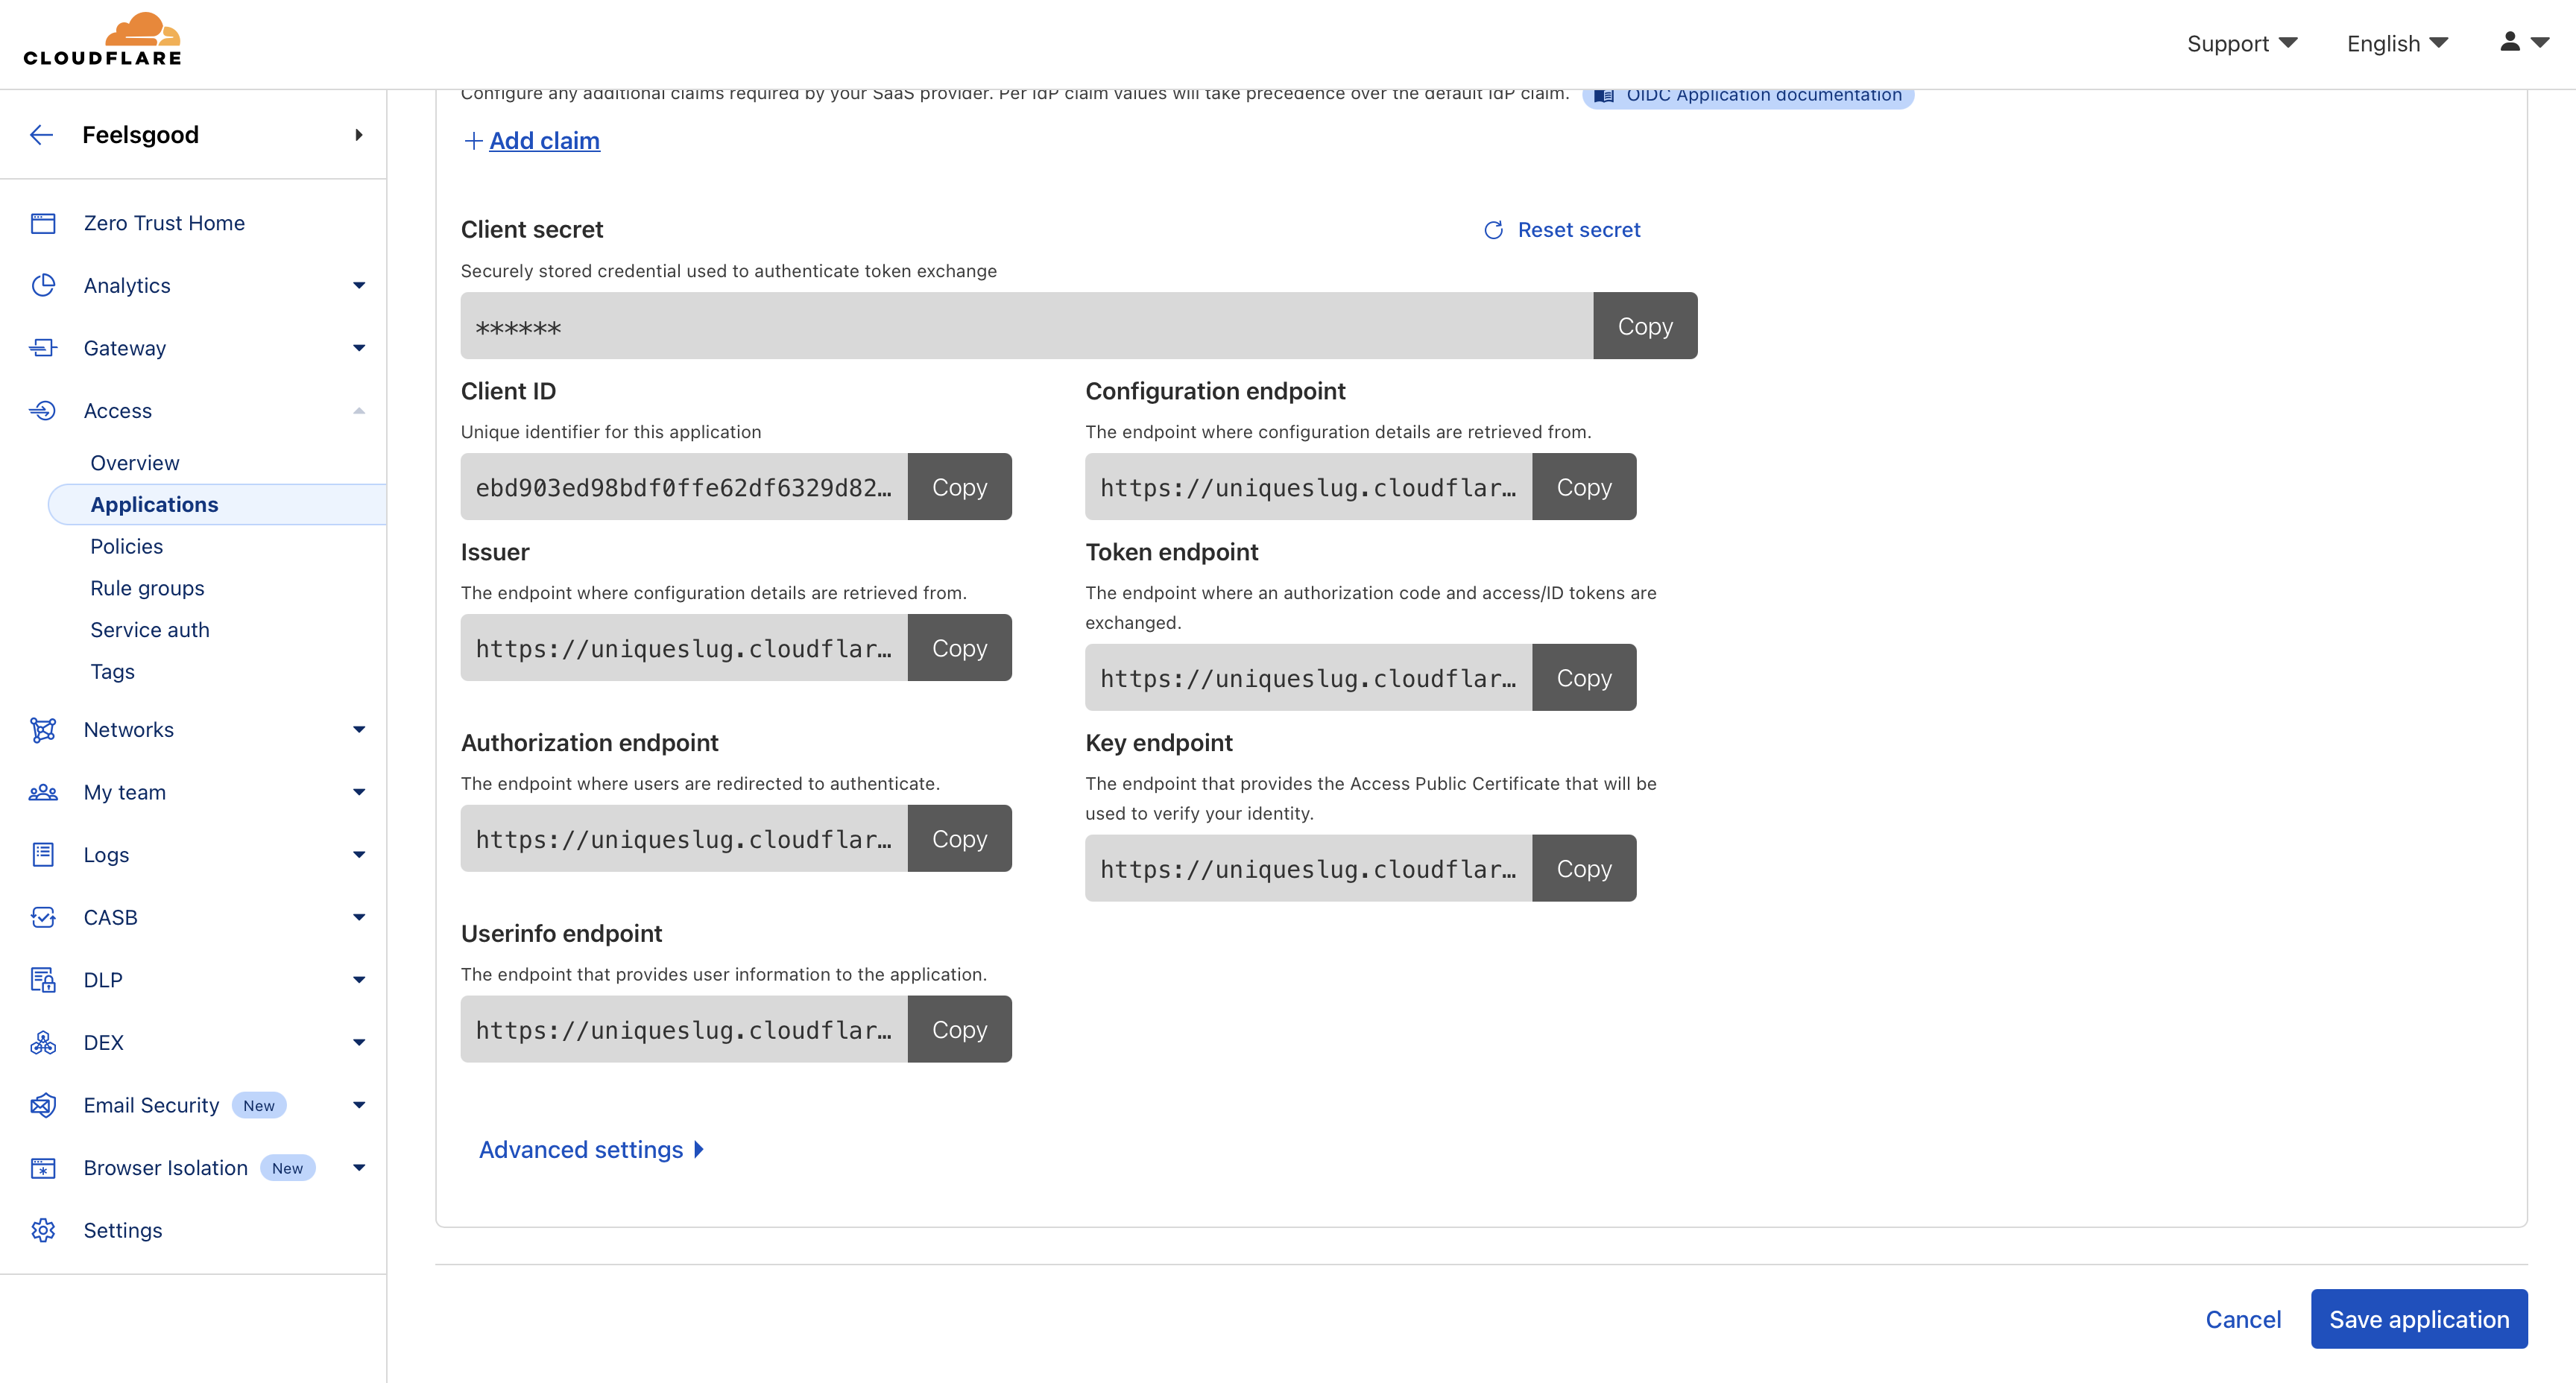
Get OIDC credentials:
Copy your:
- Issuer URL
- Client ID
- Client Secret
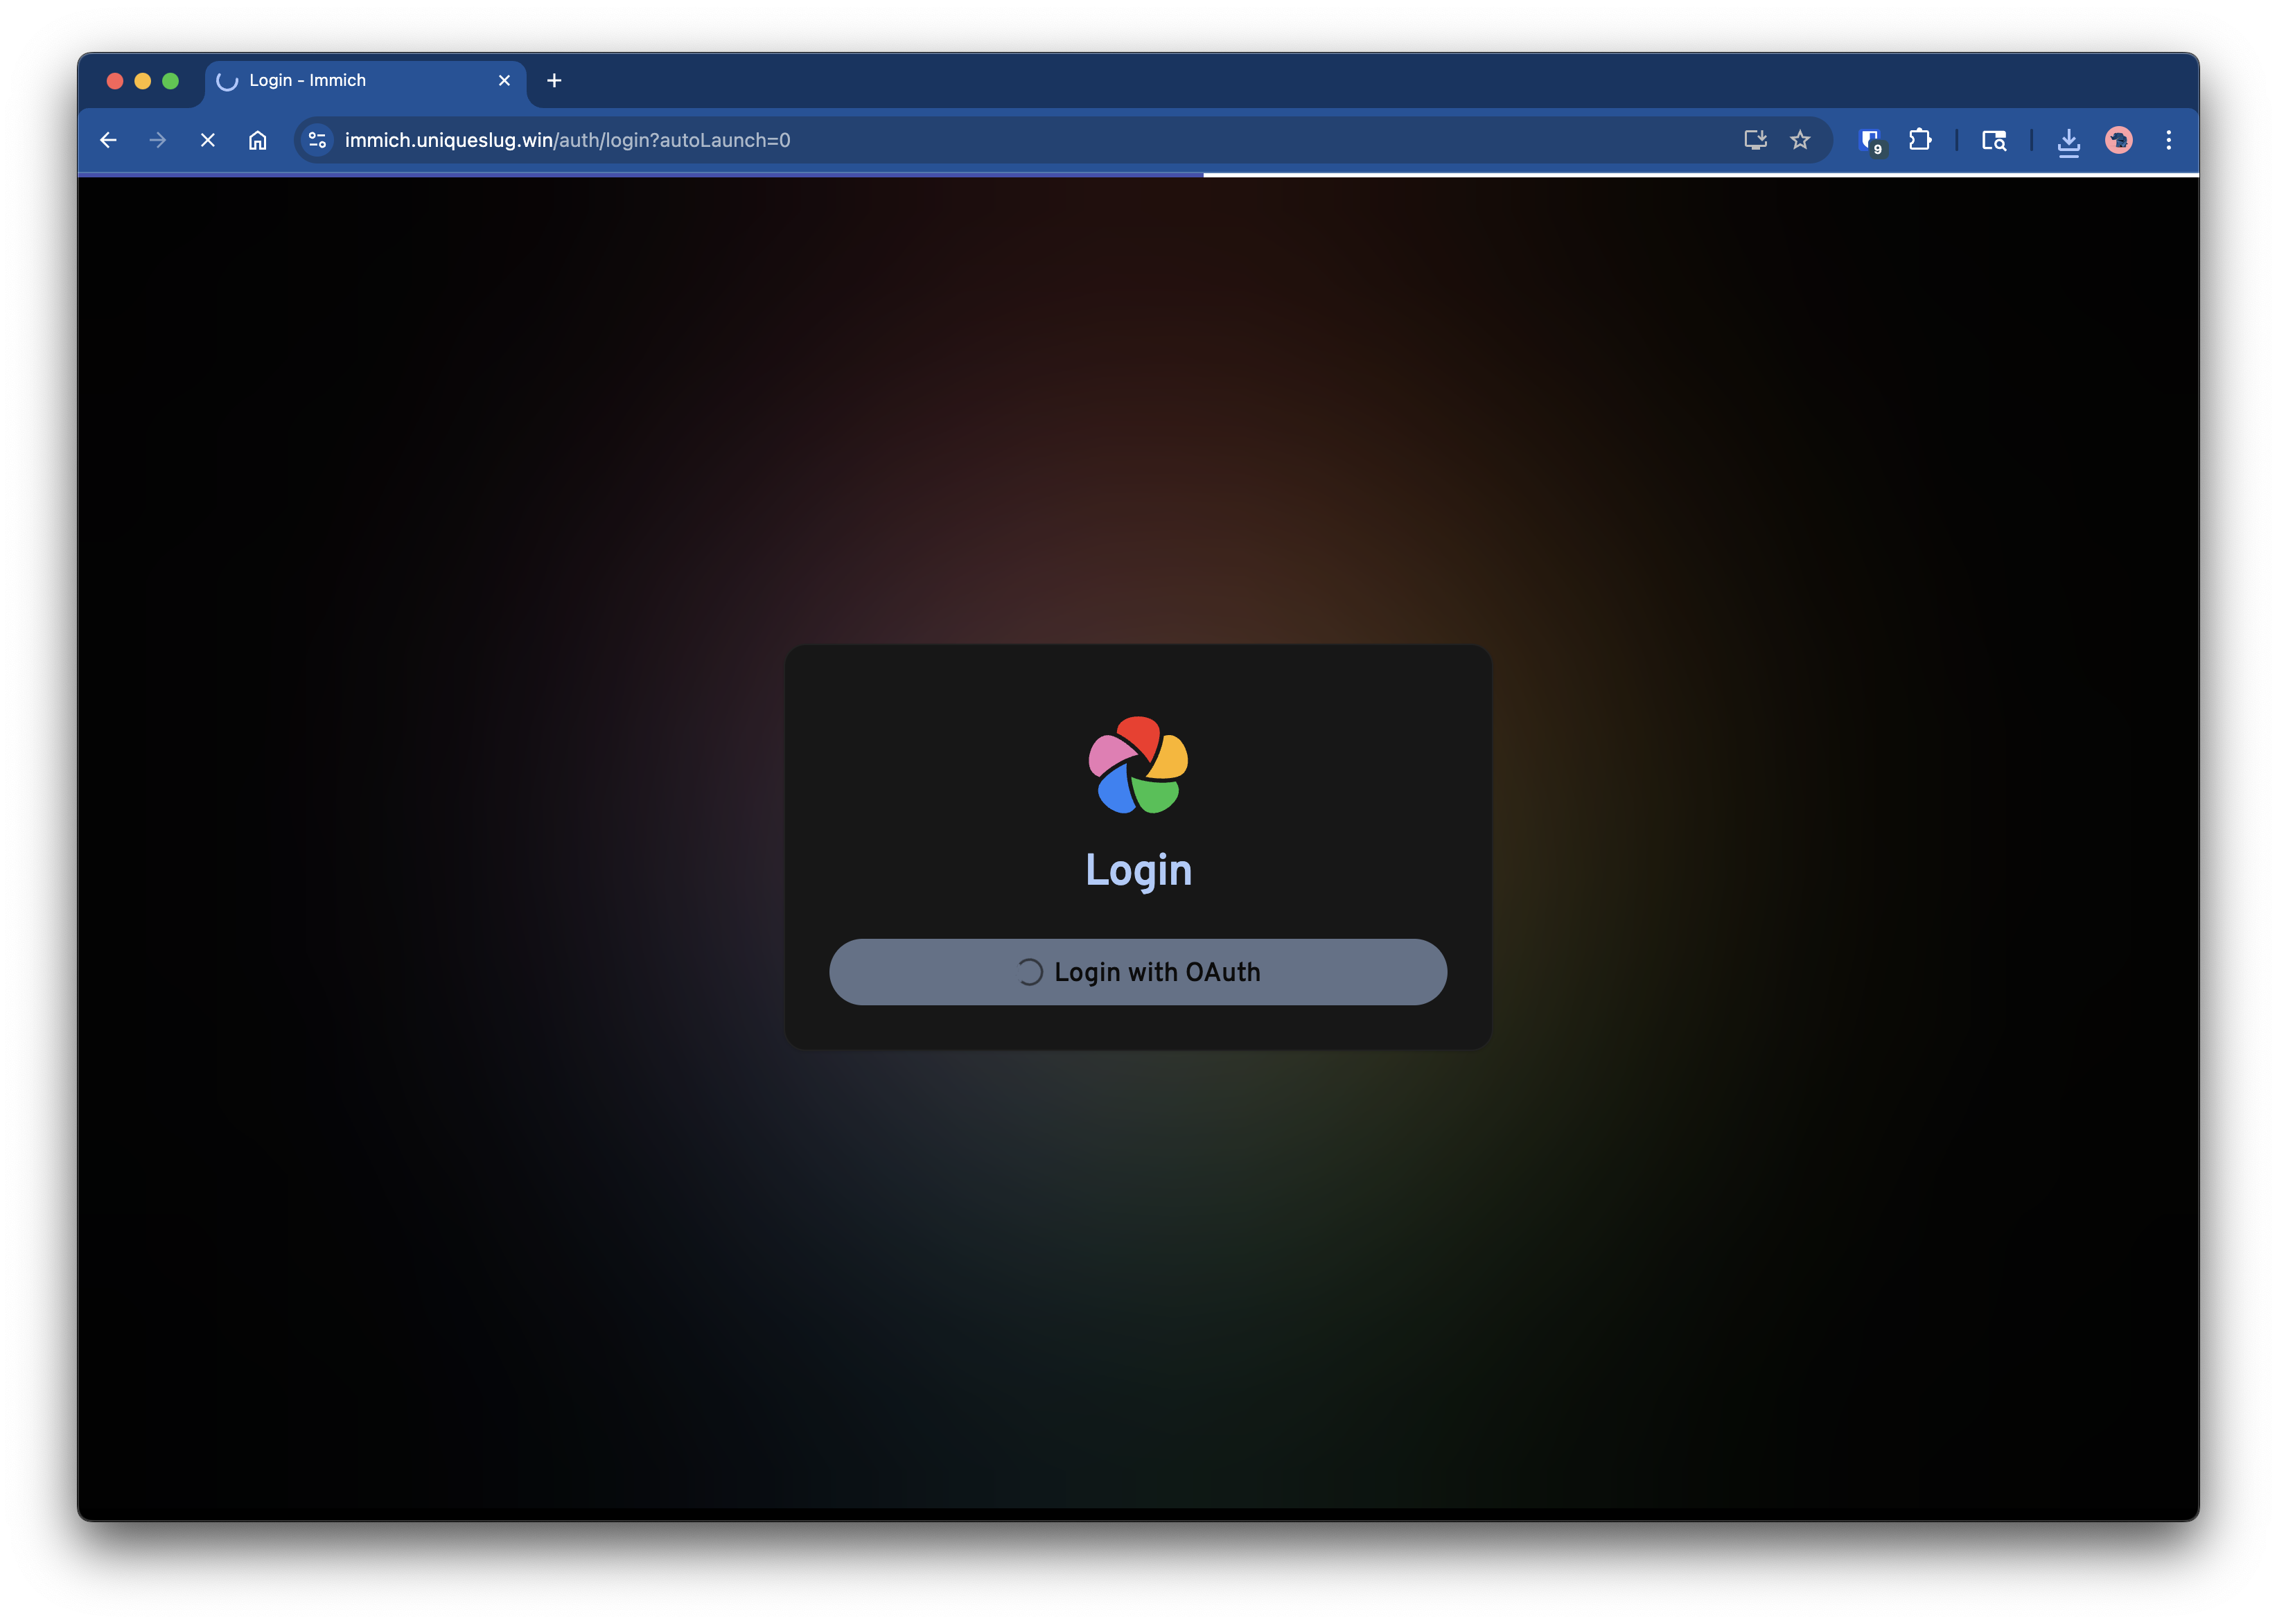
Configure OAuth in Immich:
In Immich:
- Go to Administration → Settings → Authentication Settings → OAuth
- Enter the OIDC details
- Set the Mobile Redirect URI to:
https://photos.example.com/api/oauth/mobile-redirect
Keep password login enabled until you confirm OAuth is working.
Setting up automatic URL switching
To automatically switch between local and remote access on the mobile app:
- Open the app
- Go to Settings → Networking
- Configure local and public domains

Cloudflare Limitation: Upload Size
When using Cloudflare Tunnel for external access, there’s an upload limit of 100MB per file. This can affect large video syncs or high-res image bursts from mobile devices.
Workarounds:
- Use local network upload to sync large files
- Compress videos before upload
- Use a VPN for full remote access without tunneling limitations