
Cloudflare Project: Render VNC in Browser with Secure Access

Free Cloudflare Tools for a Powerful Remote Desktop Setup
Cloudflare is a perfect solution to securely render a VNC session directly in the browser—without port forwarding, complex firewall rules, or costly licensing—for FREE. With Cloudflare’s powerful and free suite of tools, including DNS management, Access Zero Trust security, and tunneling via cloudflared, we can create a streamlined, secure, browser-accessible remote desktop.
Cloudflare offers:
- Free DNS: Lightning-fast DNS with built-in DNSSEC.
- Cloudflare Access: Free Zero Trust security for up to 50 users, perfect for small teams or personal projects.
In this post, we’ll walk through setting up a lightweight Kali Linux VNC server, tunneling it securely using Cloudflared, and rendering it in a browser through Cloudflare Access.
Pre-requisites:
- Cloudflare Account Setup
- Cloudflare Access Team Setup
- Linux VM Setup (Ubuntu/Kali) either GUI or headless
- VNC Server Setup
- Cloudflared Setup on the host
- Jump host (Optional) as you can also run cloudflare tunnel in the vm
Preparation: Set Up a Lightweight VNC Server with Kali XFCE
To ensure a responsive remote desktop experience, XFCE is recommended:
1. Installing Kali Linux with XFCE
XFCE is a resource-friendly desktop environment that runs well on minimal hardware and is especially responsive over VNC. Here’s a quick way to install XFCE on Kali:
sudo apt update && sudo apt install xfce4 xfce4-panel xfce4-session xfce4-settings xfconf thunar tightvncserver -y
Start the VNC server and set a password:
vncserver :1
Edit the startup file at ~/.vnc/xstartup to launch XFCE:
#!/bin/sh

unset SESSION_MANAGER
unset DBUS_SESSION_BUS_ADDRESS
export XKL_XMODMAP_DISABLE=1
export VNCDESKTOP="Dashboard"

xsetroot -solid grey
vncconfig -iconic &

exec startxfce4
Then, make it executable:
chmod +x ~/.vnc/xstartup
Kill the vncserver:
vncserver -kill :1
Start the vncserver:
vncserver :1 geometry 1440x900 -depth 24
Cloudflared: Creating and Running the Tunnel
1. Install cloudflared
wget https://github.com/cloudflare/cloudflared/releases/latest/download/cloudflared-linux-amd64.deb
sudo dpkg -i cloudflared-linux-amd64.deb
2. Authenticate Cloudflared
cloudflared tunnel login
3. Create Tunnel and Config File
cloudflared tunnel create <Tunnel Name>
Create the config.yml in ~/.cloudflared/:
tunnel: <Tunnel Name>
ingress:
  - hostname: vnc.your-domain.com
    service: http://localhost:5901
  - service: http_status:404
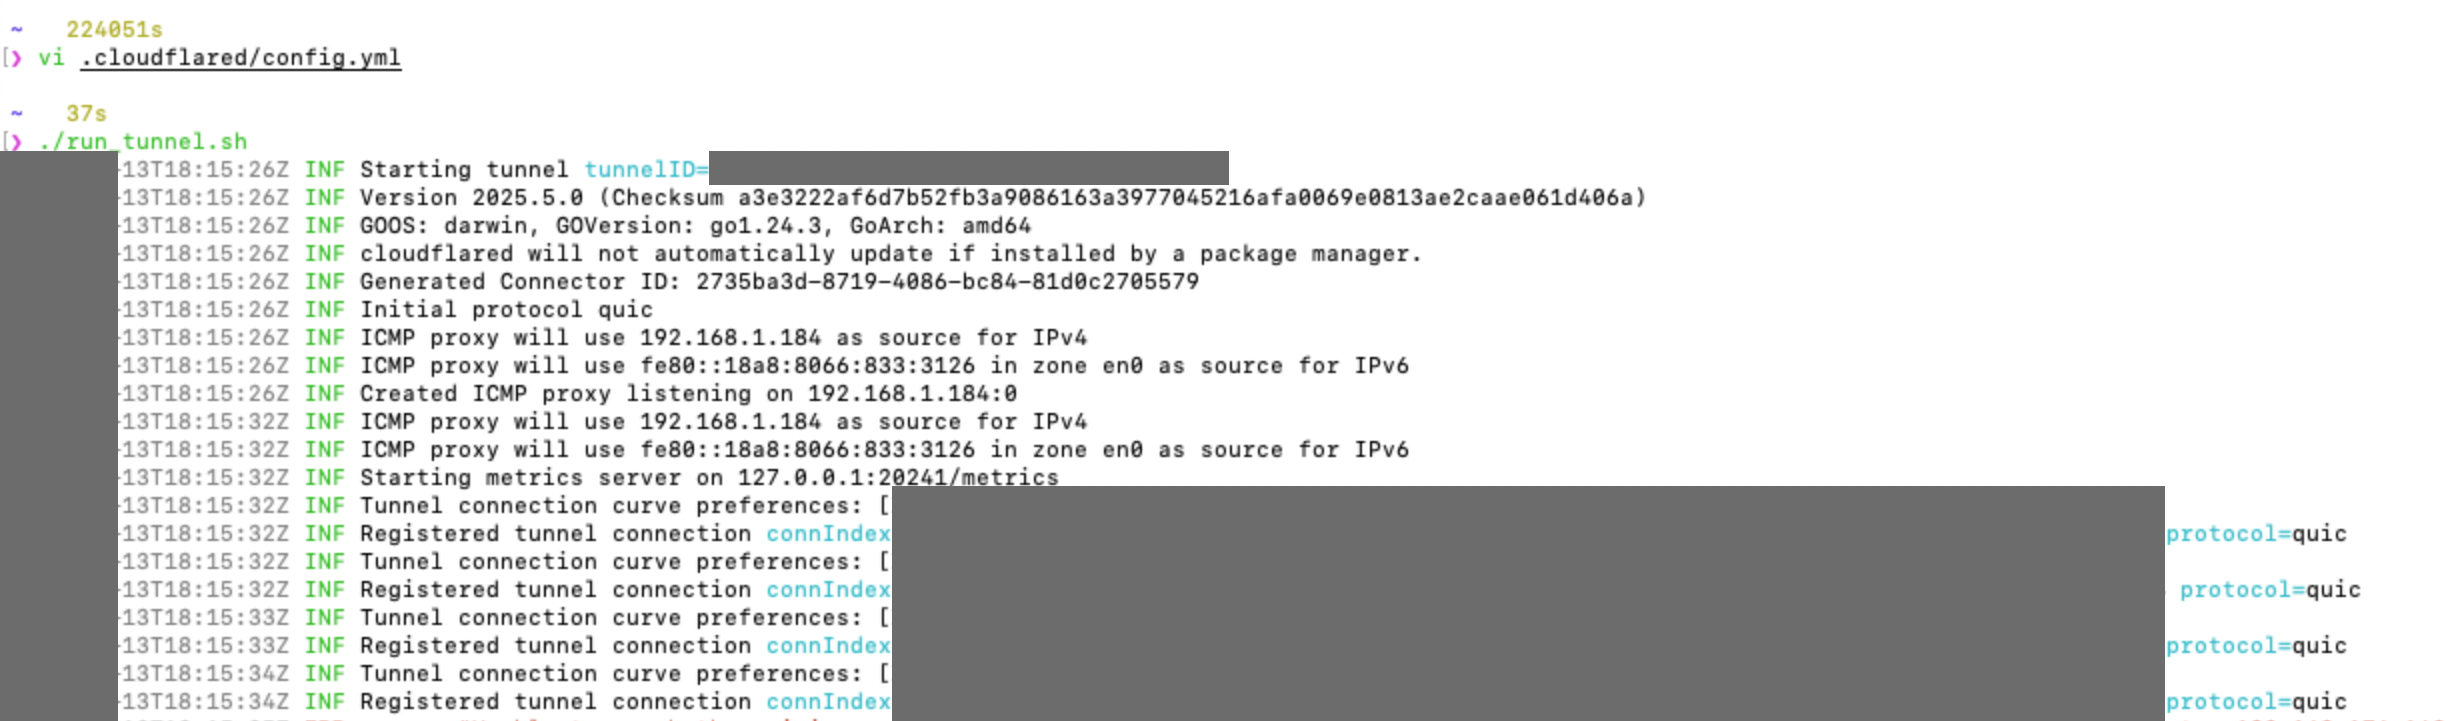
4. Run the Tunnel
cloudflared tunnel run <Tunne Name>
Cloudflare Configuration: Secure Your VNC with Access and DNS
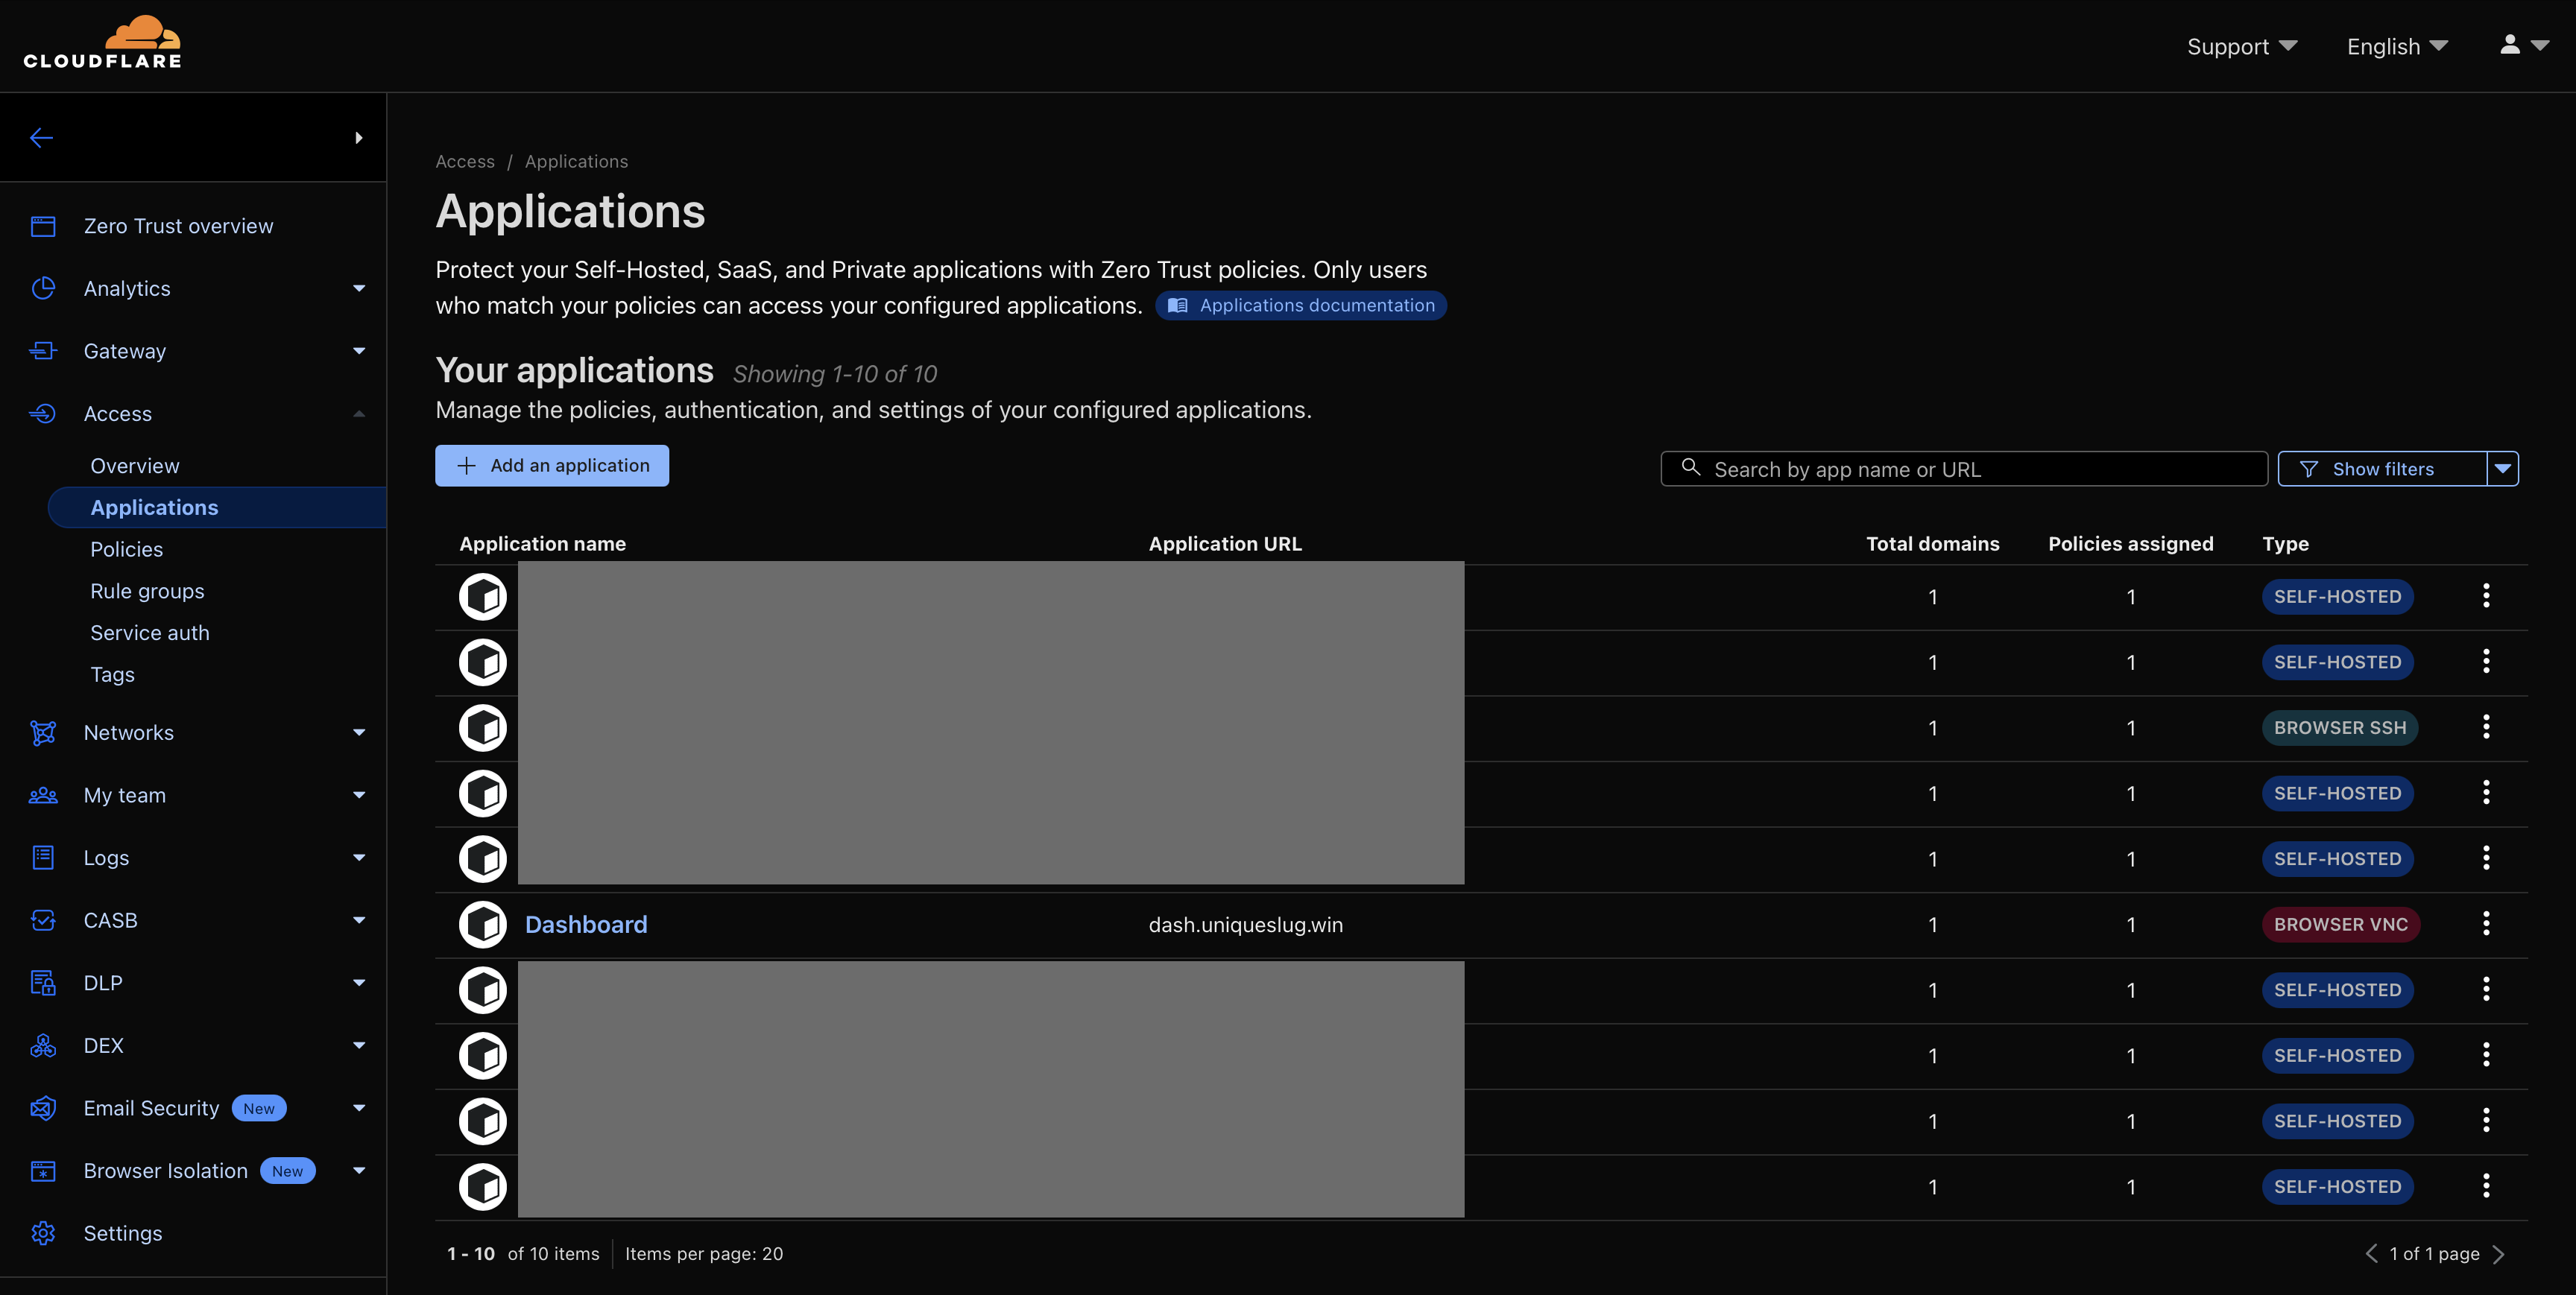
1. Configure Cloudflare Access App
Navigate to the Zero Trust Dashboard → Access → Applications and add a new app.
Settings:
- Type: Self-hosted
- Name: VNC Remote
- Subdomain: vnc.your-domain.com
Permissions:
- You can setup Google Authentication integration. Or else, you can setup OTP for emails.
- Add email addresses or domains (e.g.,
*@yourdomain.com) to restrict who can access the VNC.
Browser Rendering:
- Enable Browser Rendering in the app settings.
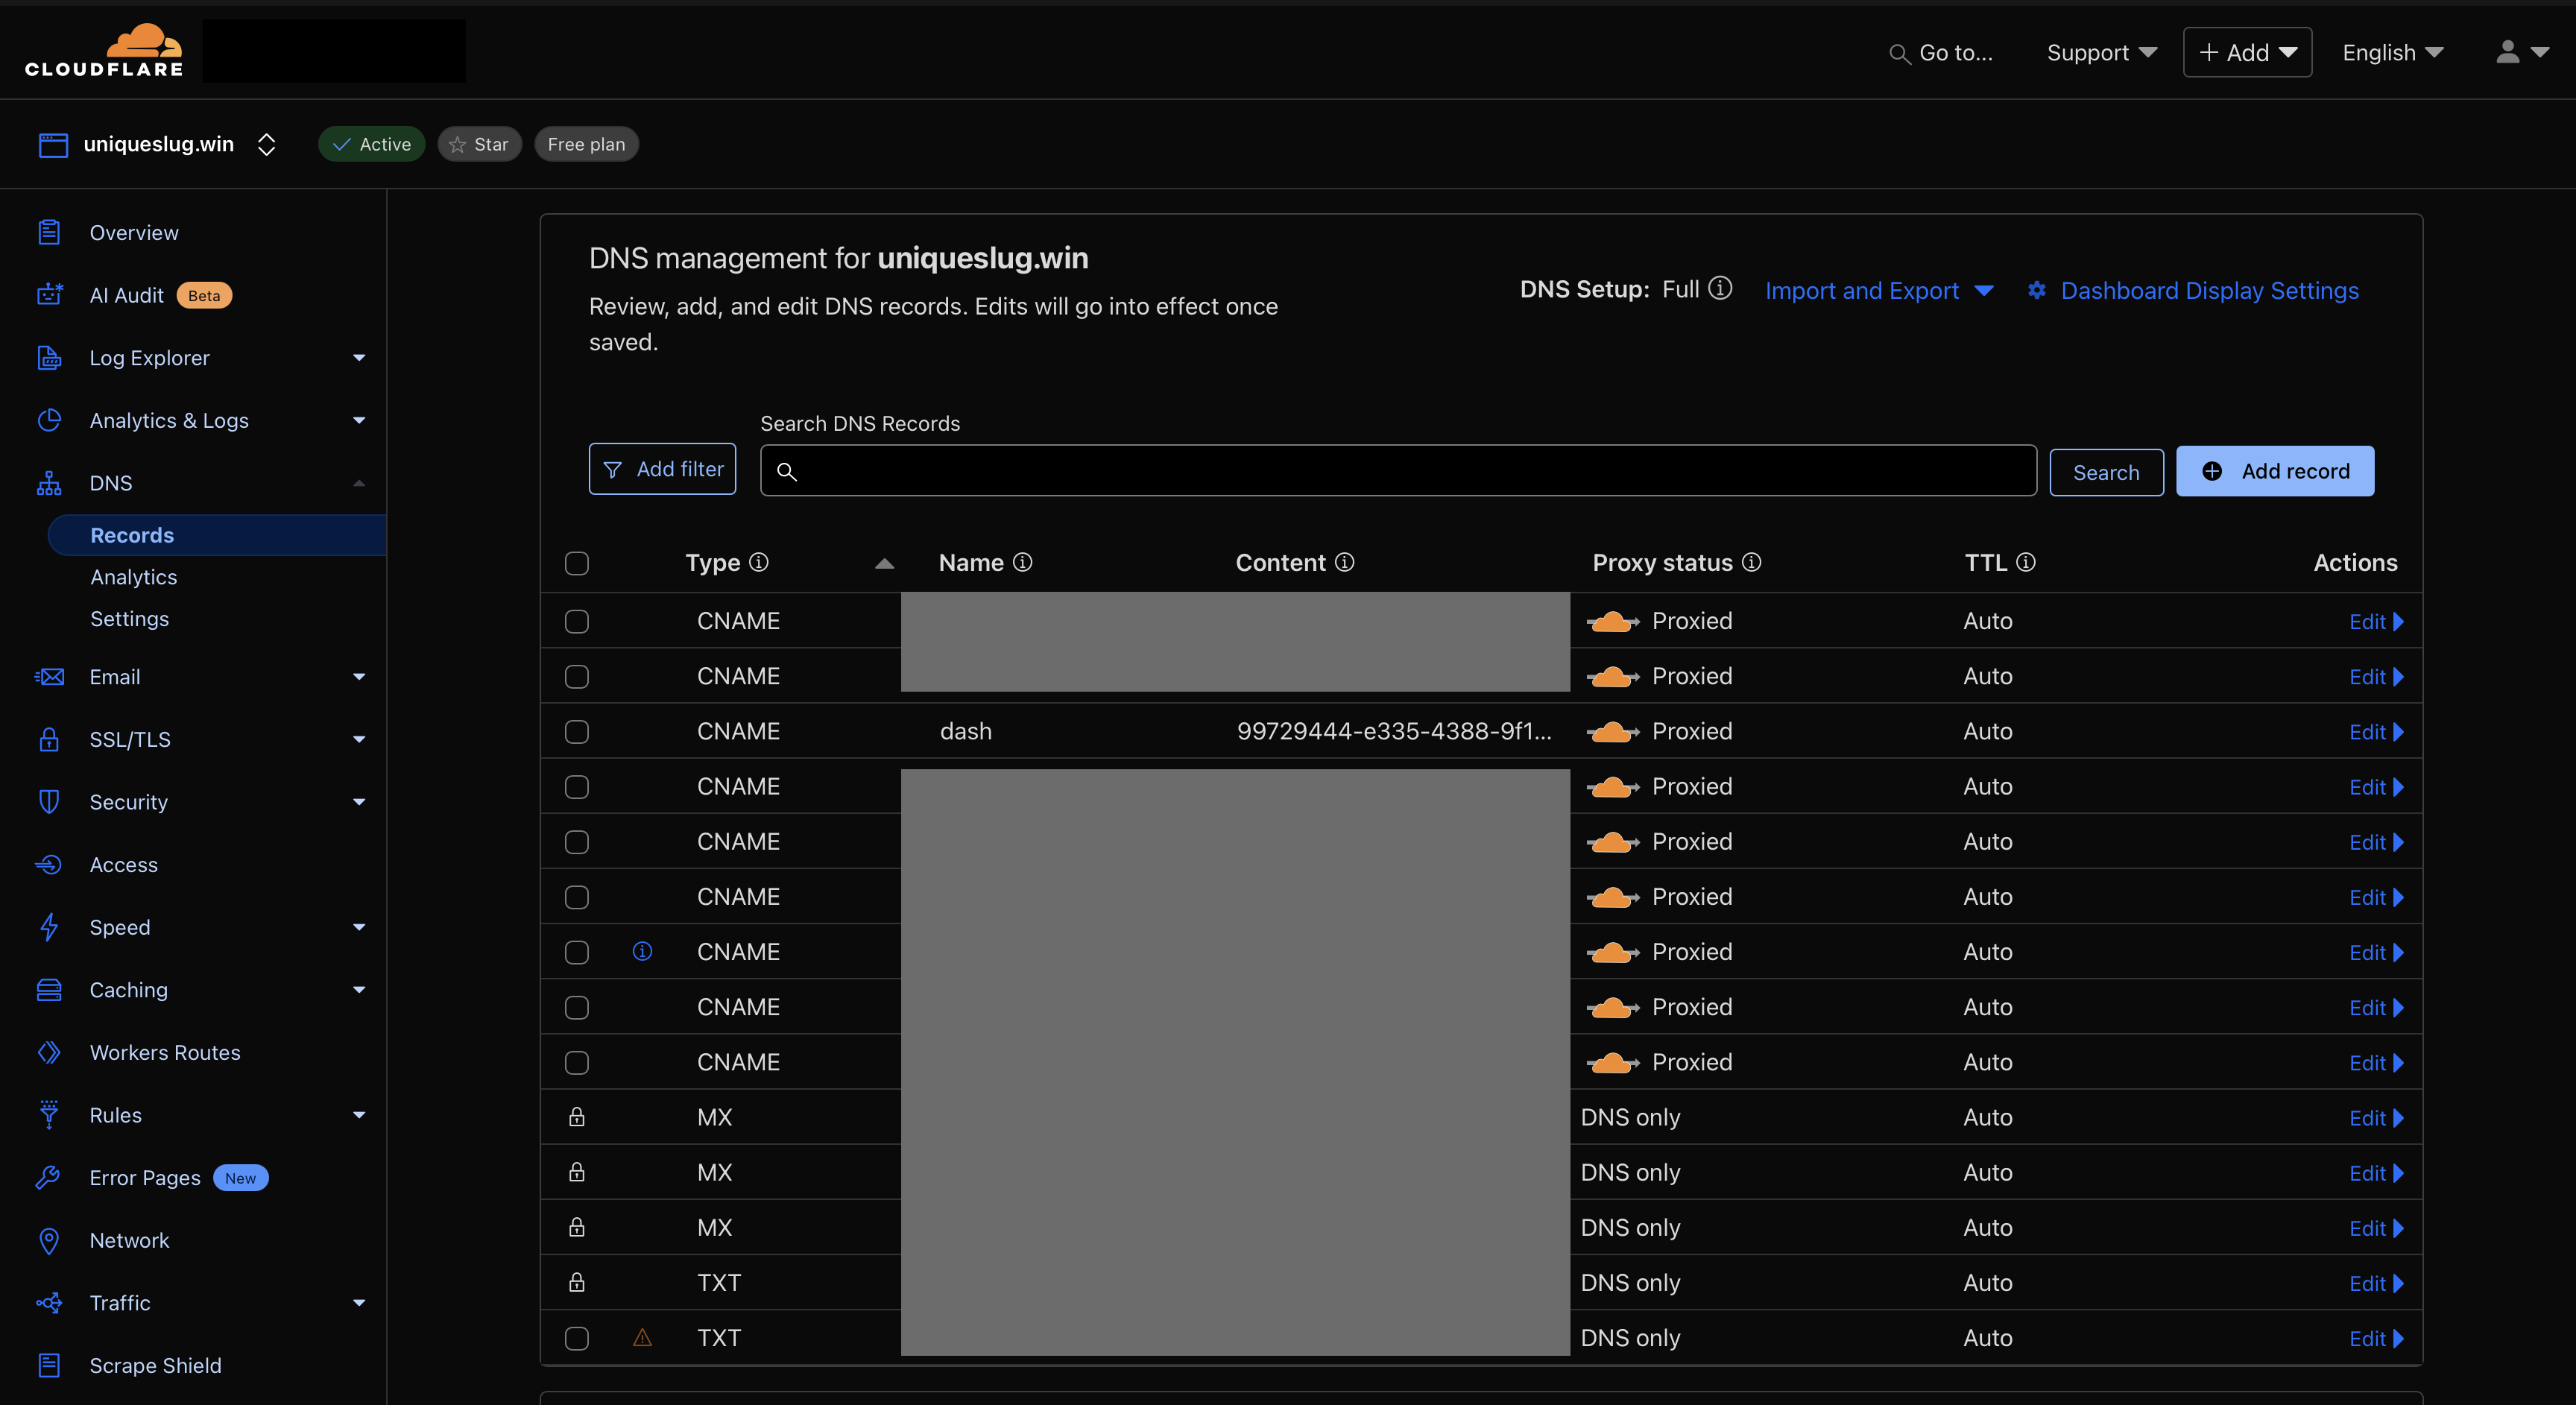
2. Add DNS Record (CNAME)
Assuming your domain is managed by Cloudflare:
- Go to the DNS tab.
- Add a
CNAMErecord (e.g.,vnc.example.com) pointing toyour-tunnel-name.cfargotunnel.com.
3. Testing
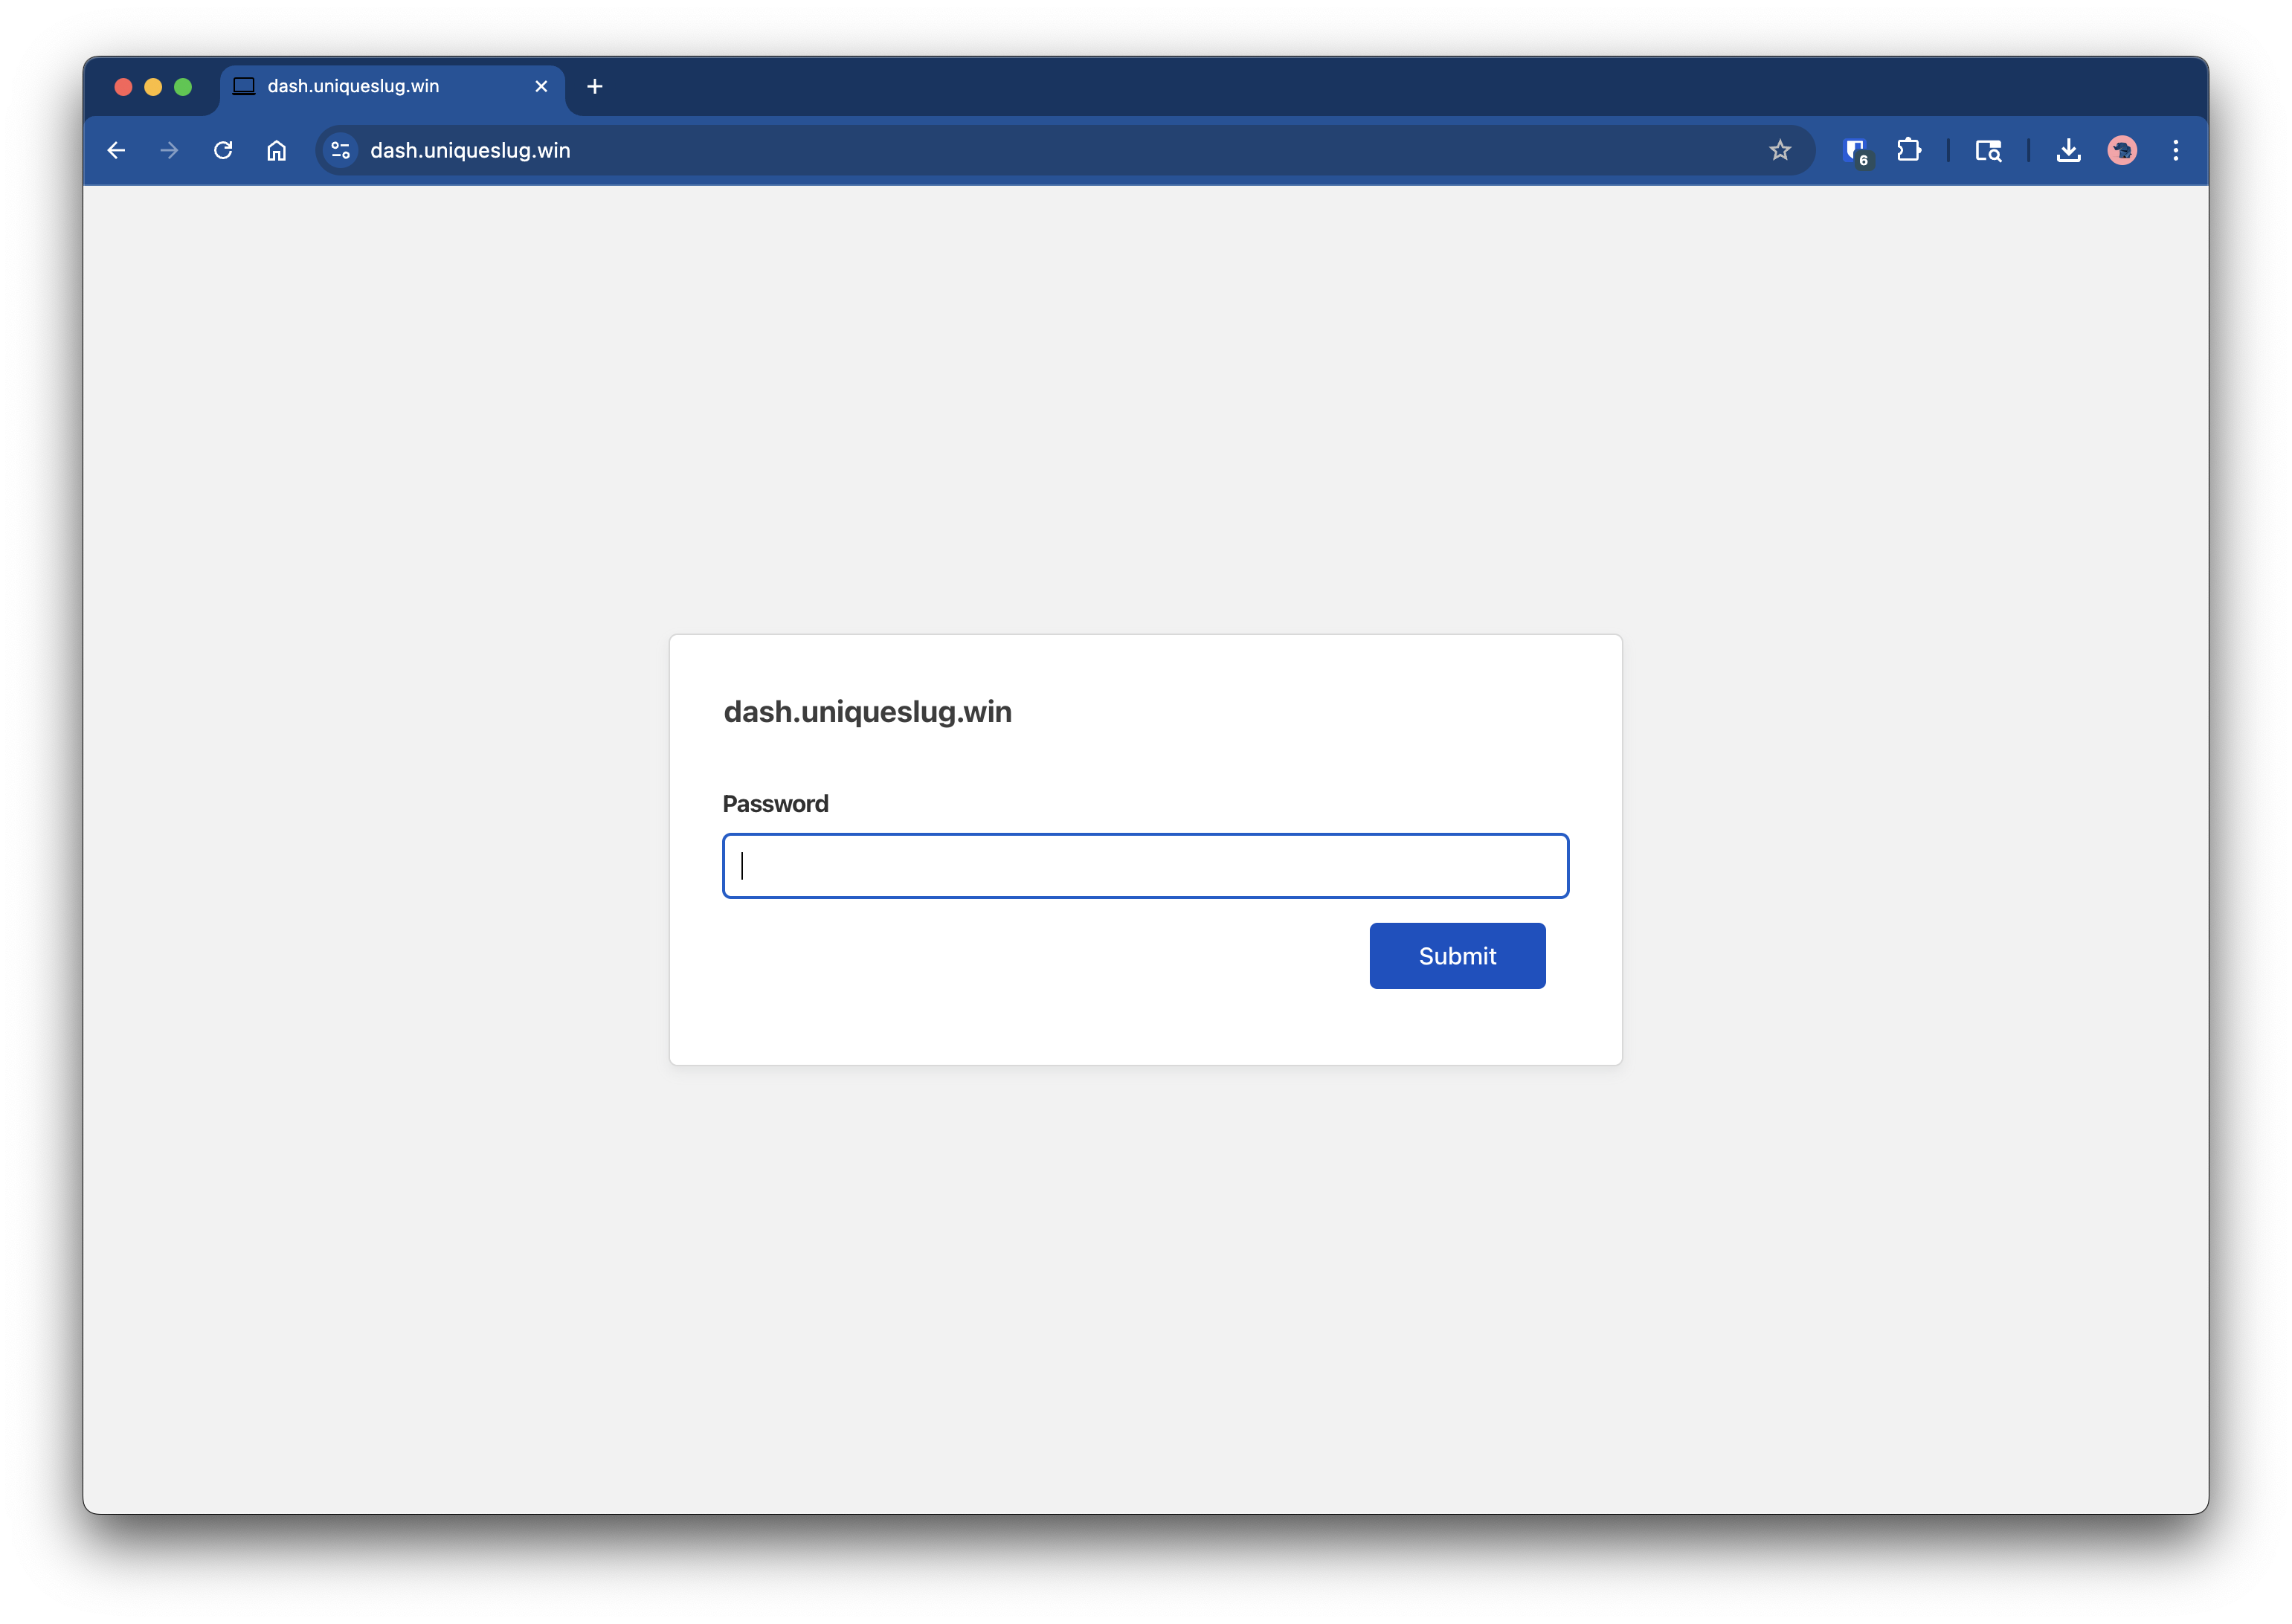
- Accessing via vnc.your-domain.com will prompt you with Cloudflare Access authentication screen. You will see whichever authentication method you choose during setup.
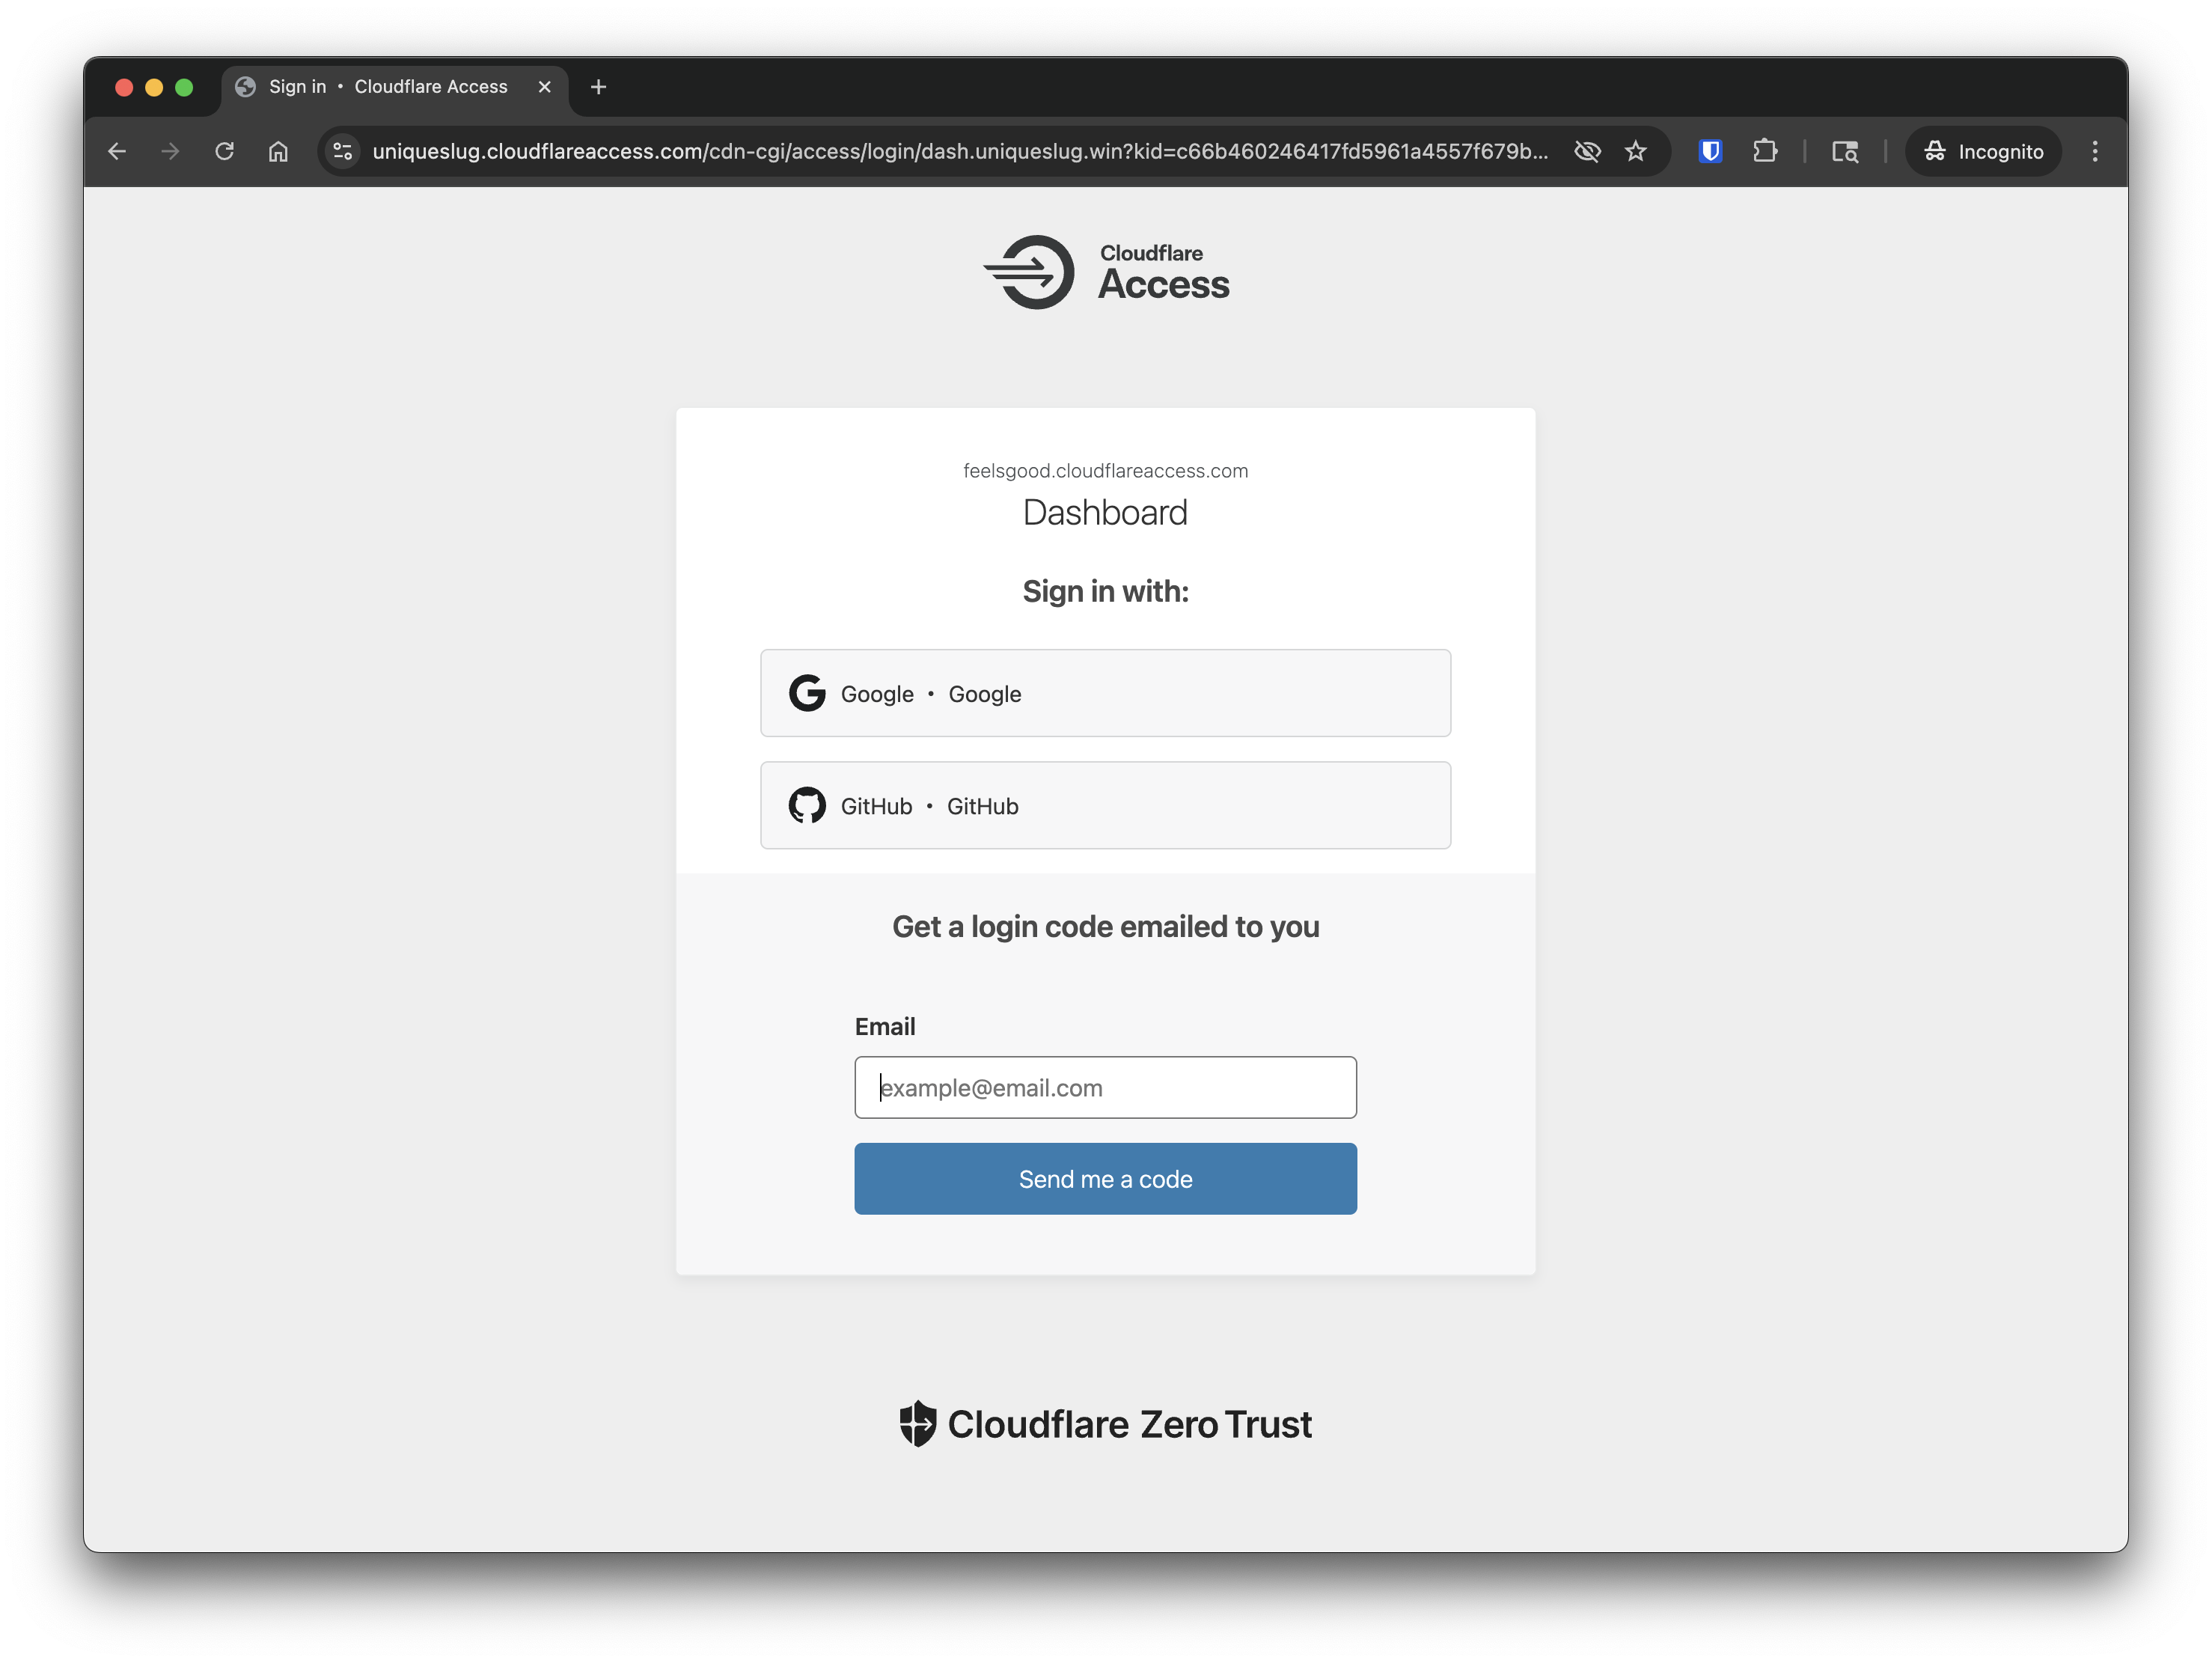
- After that, you will be prompted to enter vncserver password.
- VNC session rendered in browser

Summary: How Does This Compare to Apache Guacamole?
| Feature | Cloudflare + VNC | Apache Guacamole |
|---|---|---|
| Cost | Free for 50 users | Free (self-hosted) |
| Browser rendering | ✅ Built-in via Access | ✅ Supported |
| Zero Trust Access | ✅ Cloudflare Access | ❌ Requires custom setup |
| Setup Complexity | Moderate | Moderate to High |
| Performance | Excellent with XFCE | Good |
| Mobile Friendly | ✅ (browser-based) | ✅ |
| Audit Logs / Identity | ✅ Integrated | ❌ (requires add-ons) |
With zero cost, zero port forwarding, and zero hassle, Cloudflare offers an elegant way to run your own browser-based remote desktop securely. Whether you’re a hacker working in Kali, a sysadmin managing servers, or a tinkerer building a home lab, this is one project worth trying.