Creating $3 DIY RubberDucky
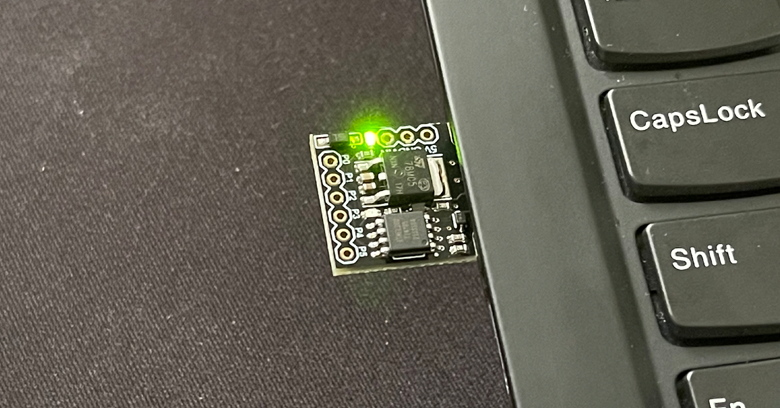
Creating a disposable DIY rubberducky for your Red Team engagement or at least testing out what you can achieve with 1 minute of physical access to the computer. This is the first post of a DIY series. Hopefully, I will be able to create subsequence posts around DIY rubberducky. In this section, I will be going through the setup and where you can get ATtiny85.
Where to get DigiSpark ATtiny85:
Buying options: Lazada 5pcs - S$15, Amazon 5pcs - US$12
What you will need:
Arduino IDE: https://www.arduino.cc/en/software
DigiSpark Driver: https://github.com/digistump/DigistumpArduino/releases
Installing Arduino IDE
Go to the above link and download the IDE for your enviroment. In this case I am downloading Windows 10 x64 version. You can also get Arduino IDE from Microsoft Store but that’s totally up to you.
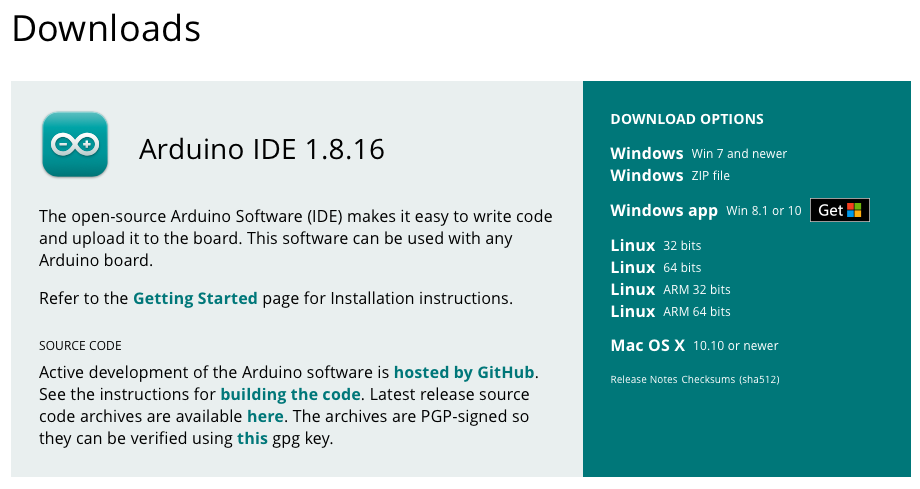
After downloading, go ahead and install the IDE. After that download the driver and install it by running Install Drivers.exe.
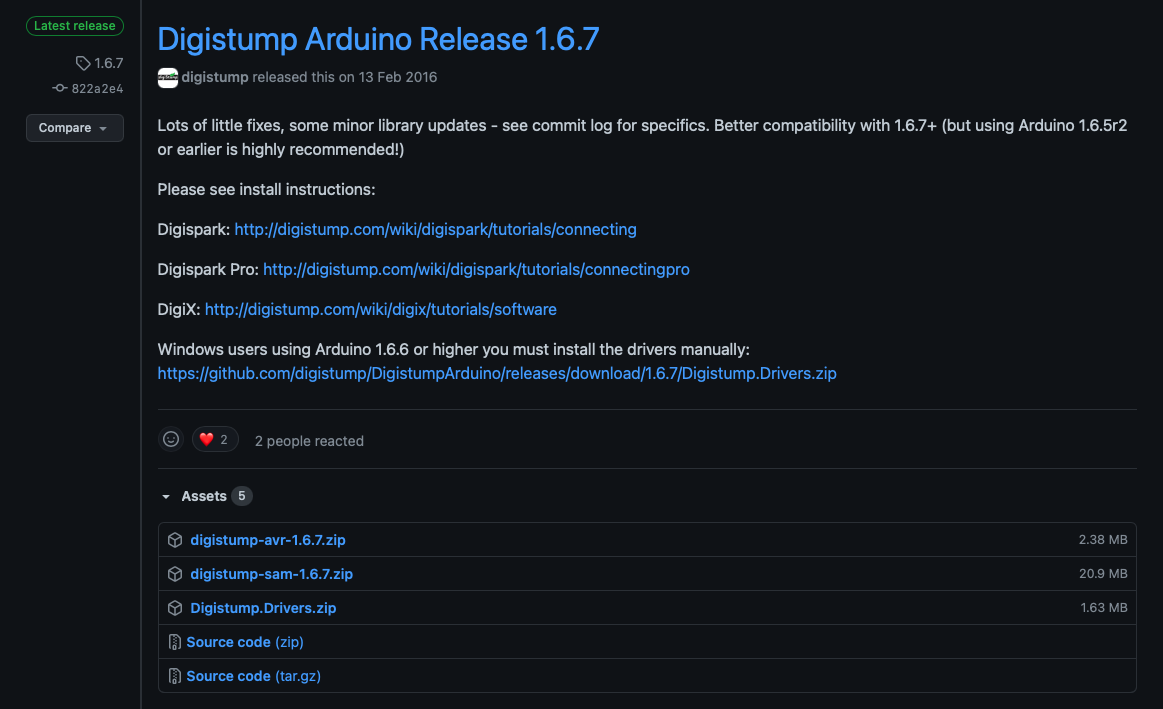
After installing the driver, you will be able to see the ATtiny85 as Digispark Bootloader in the Device Manager.

Setting Up
Fire up Arduino IDE. You will be seeing something like below.
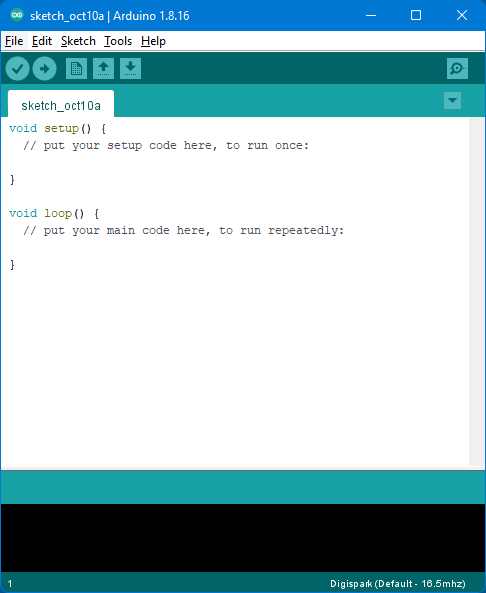
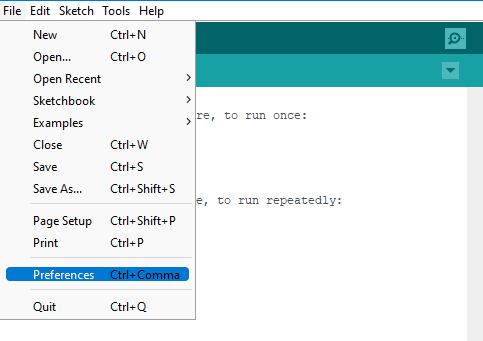
Before we can proceed, we’ll need to install Board Manager for our Digispark ATtiny85. Go to FIle > Preferences.
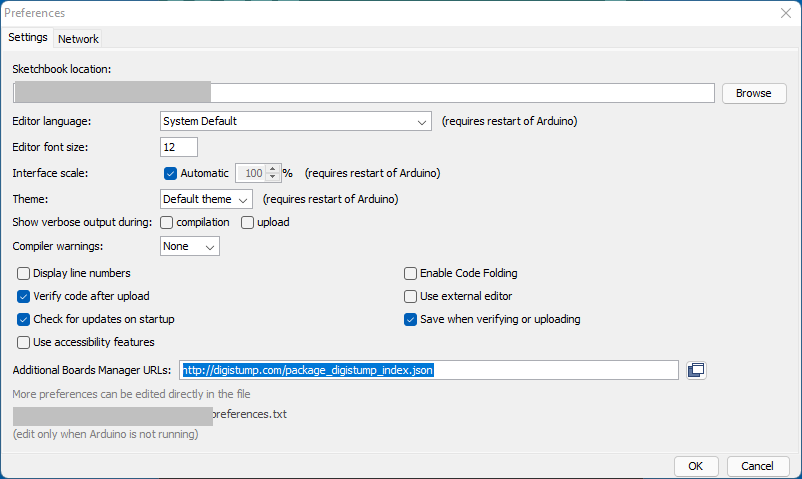
In the Addional Boards manager URL field, put in the link: http://digistump.com/package_digistump_index.json like so.
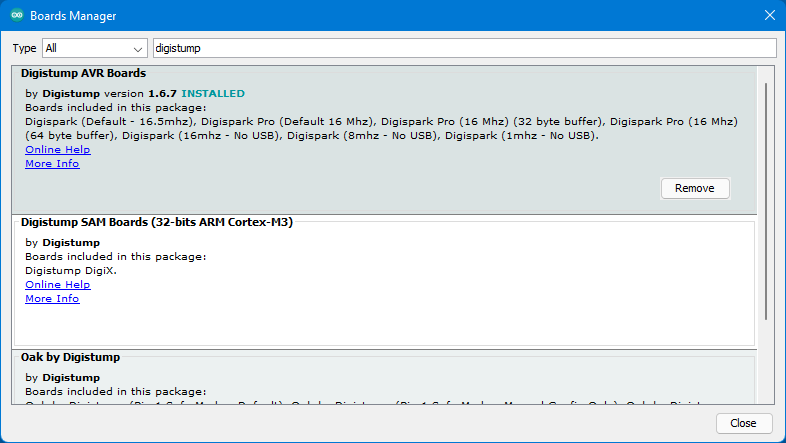
Press OK. Then go to Tools > Boards > Boards Manager... and in the search field, type in Digistump where you will see Digistump AVR Boards. Install that if you haven’t already.
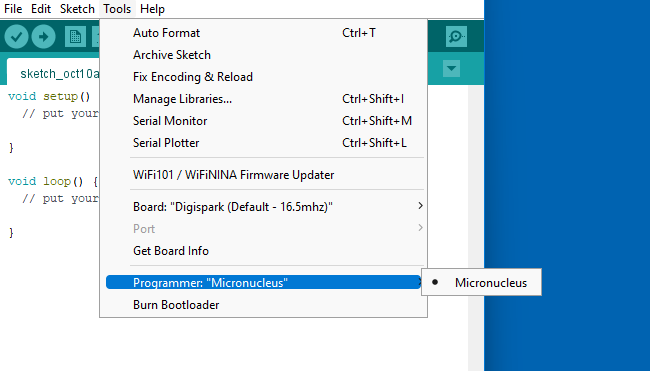
Finally, go to Tools > Boards and choose Digispark (Default - 16.5mhz) from Digistump AVR Boards.
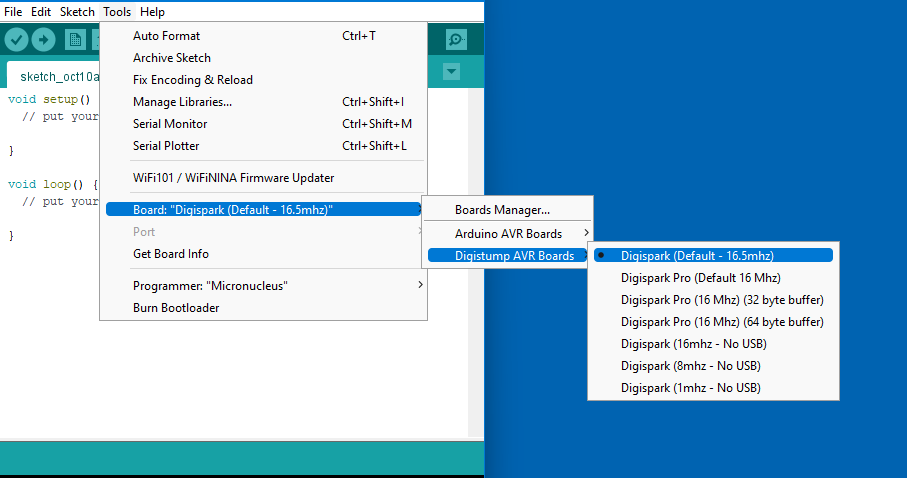
And choose Programmer as Micronucleus.
That’s it. You are good to go now. In the next post we will be adding payloads in our DIY RubberDucky. For any questions, feel free to reach out to me on twitter.
